How do I manage new features for my institution?
Sublime LMS ™ is continually creating new features to improve your experience. The majority of improvements will be made available as part of our regular release cycle. However, some features may change the work flow for common activities in Sublime LMS ™ during your current term. Because we want you to be able to learn about these features at your own pace, they’ll be placed in your Account Settings as a Feature Option. Feature Options allow you to choose when you want to enable the new feature for your institution. Most institutions will pilot the feature within their institution and then enable it for the entire institution between terms.
In order for a feature to appear, it must be activated by your Customer Success Manager. Features can be activated on account, course, and user levels. On the course level, you can give instructors the option to implement features on a course-by-course basis.
Please note that Feature Options will only be optional for a short period of time. Once a Feature Option is officially released to your production environment, you'll have a few releases (depending on the feature) before the option will be enabled for all Sublime LMS ™ users. Therefore we encourage you to use your beta environment to learn about new Feature Options for your institution, and when the features are released to your production environment, allow them as quickly as appropriate for your institution.
This lesson gives an overview of how to manage a generic feature option. To view specific details about current feature options enabled by your Customer Success Manager, visit the current account features lesson.
Note: Admins and instructors have no control over user-level features.
Locate Account
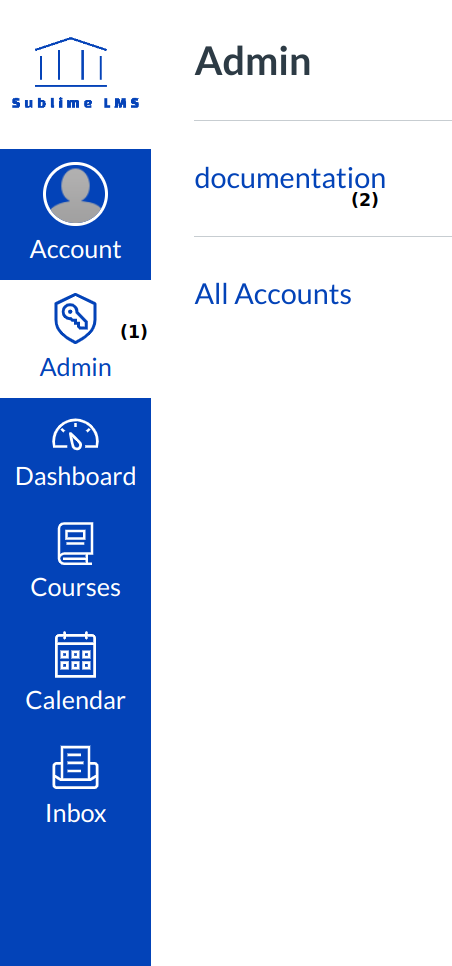
In Global Navigation, click the Admin menu [1], then click the name of the account [2].
Open Settings
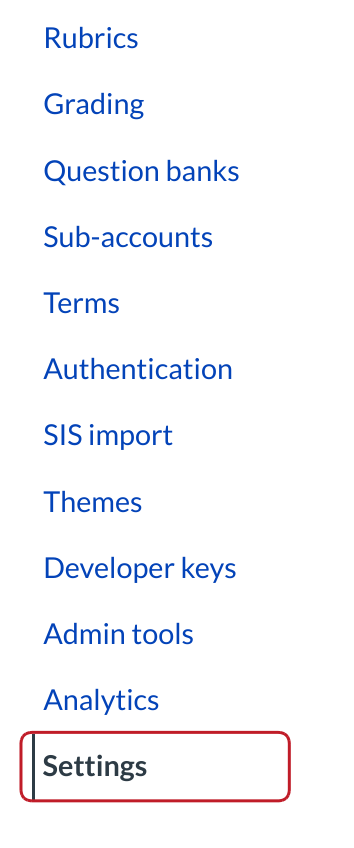
In Account Navigation, click the Settings link.
Open Feature Options Tab

Click the Feature Options tab.
Available features will appear in the Feature Options tab. New features are enabled by your Customer Success Manager, and the Feature Options tab will not display any features until they are granted access to you.
View Types of Features
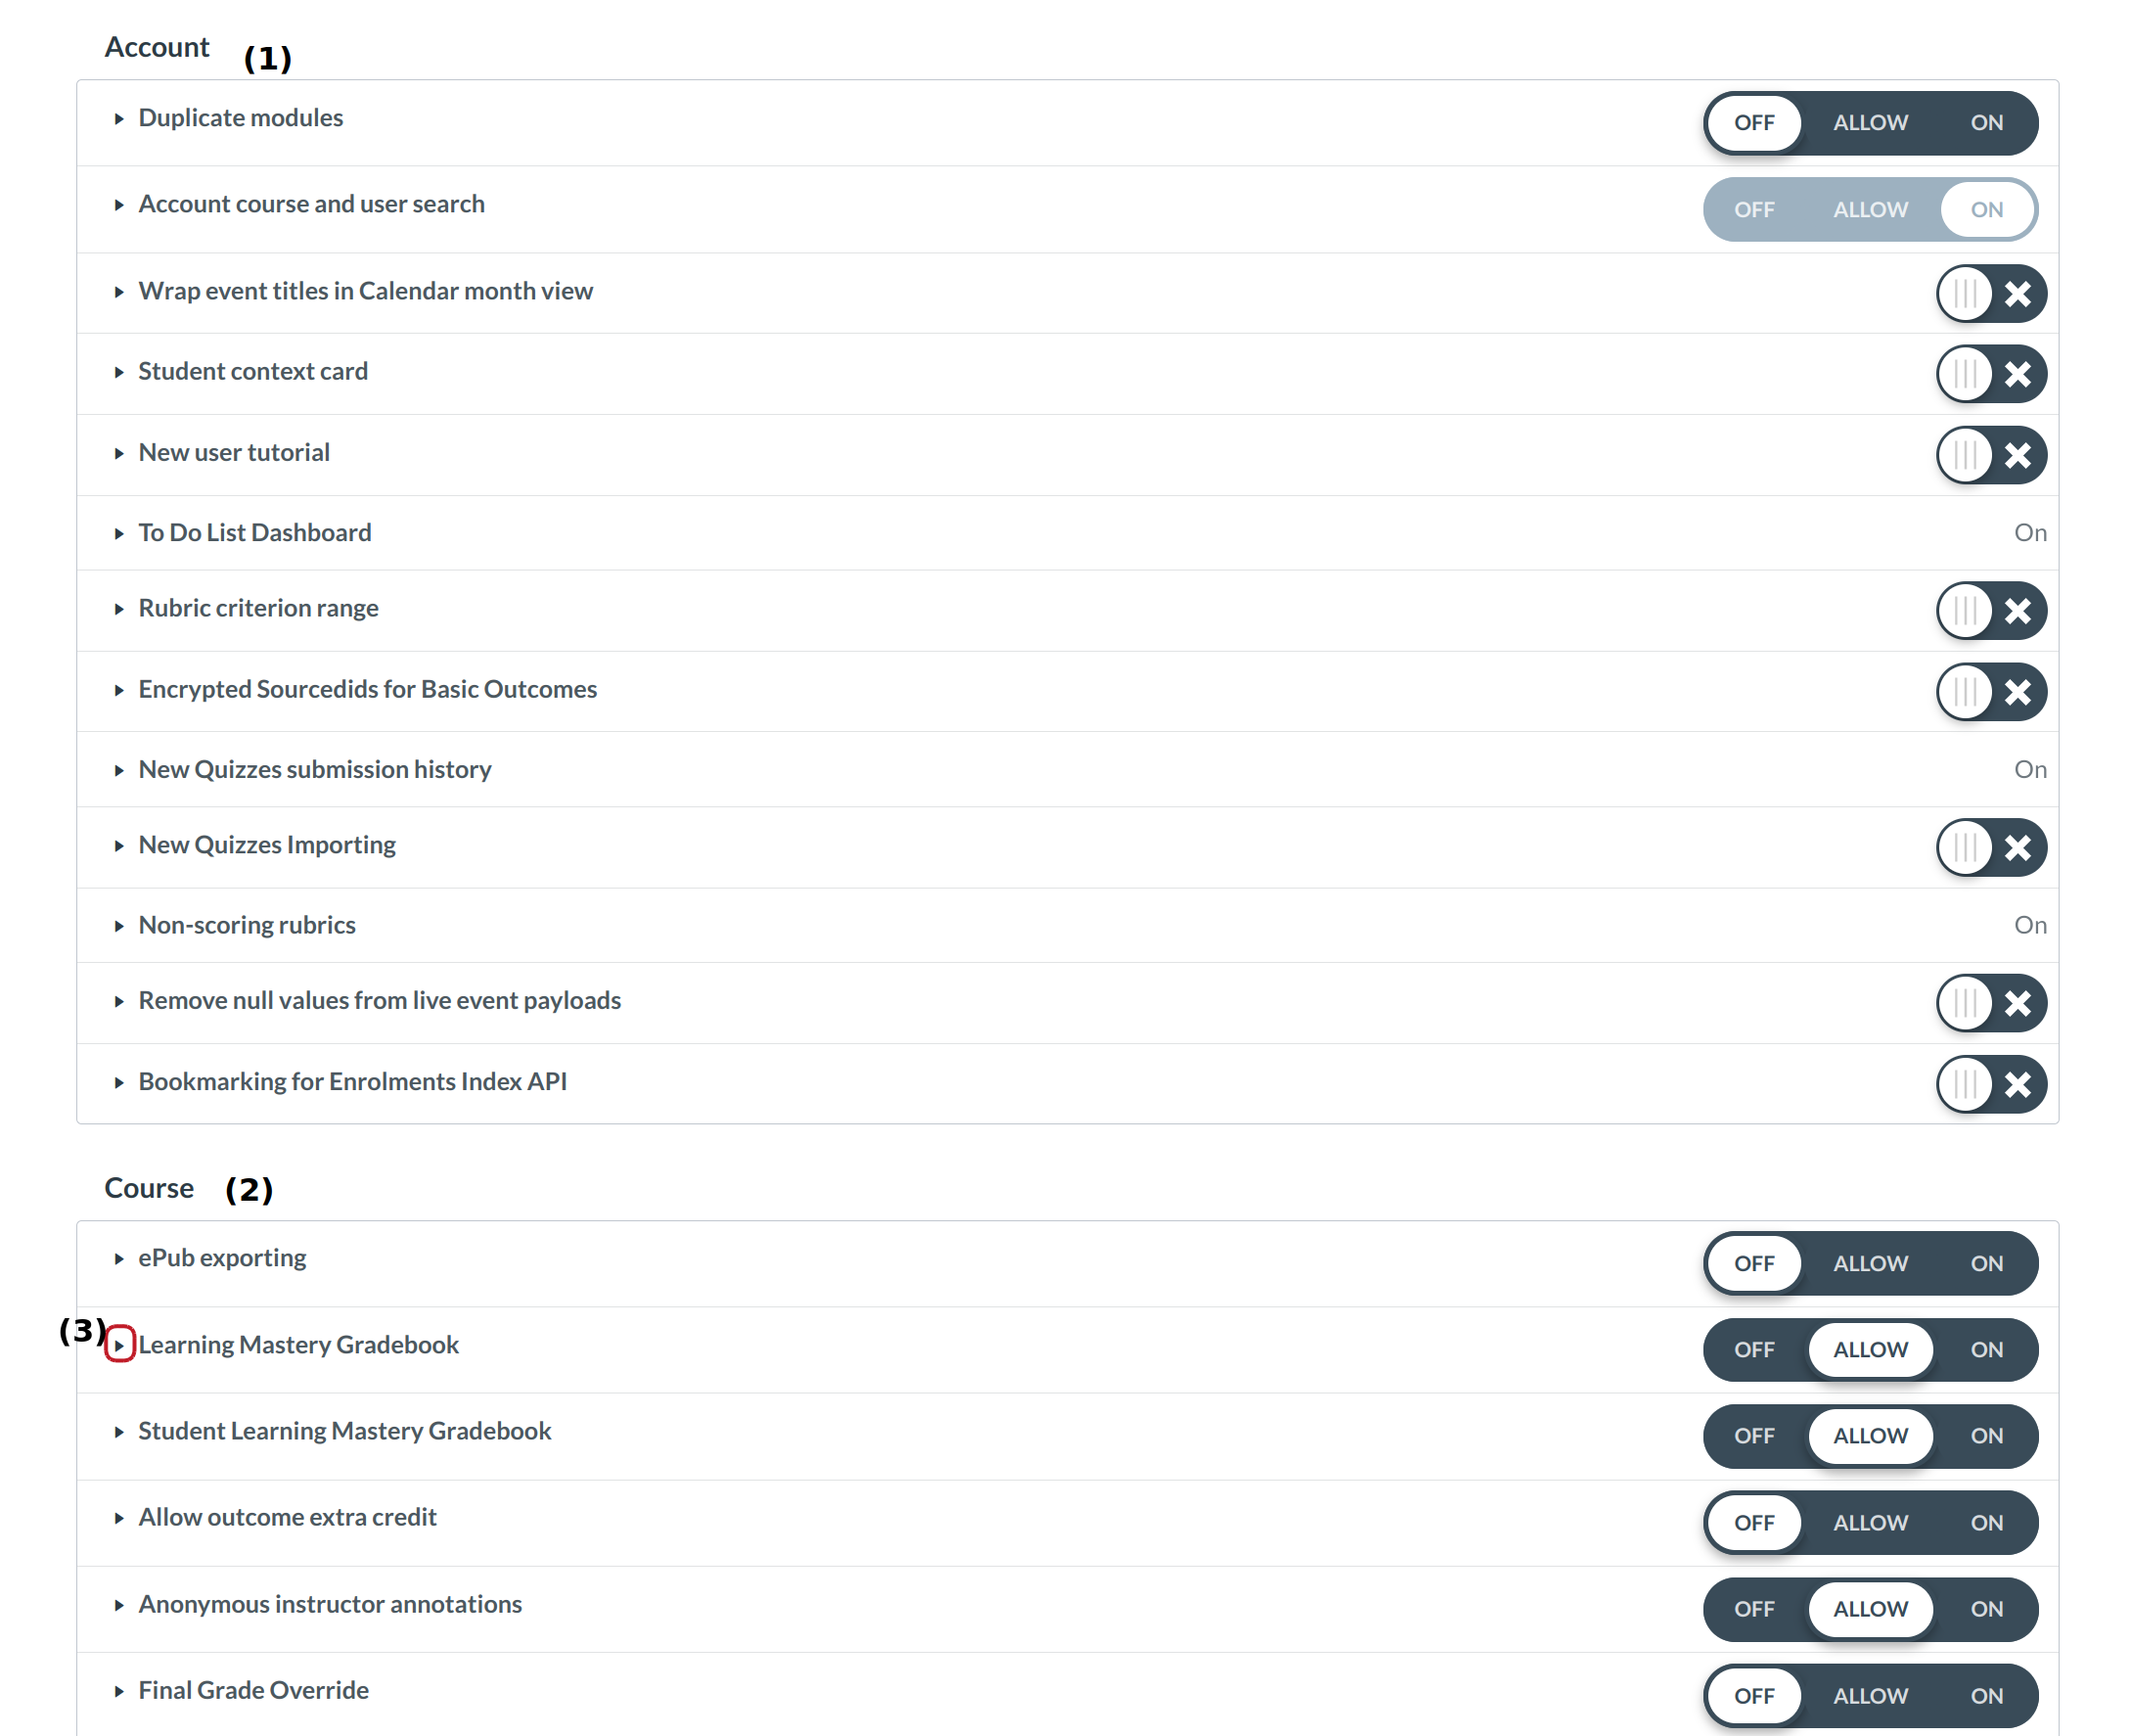
Once features are available, they will be listed by Account [1] or Course [2], depending on the feature's functionality level. Features can also be listed by User as well.
Note: If a feature is not available for a specific level, the level's heading will not appear.
Each feature includes a feature description. Click the arrow icon [3] next to the feature to expand the feature box and display the description.
Feature Access
Each feature displays a feature access status as set by your Customer Success Manager. Feature status options are the same regardless of the level of the feature (account, course, or user).
Note: Course features are activated by instructors on a course-by-course basis.
Feature On

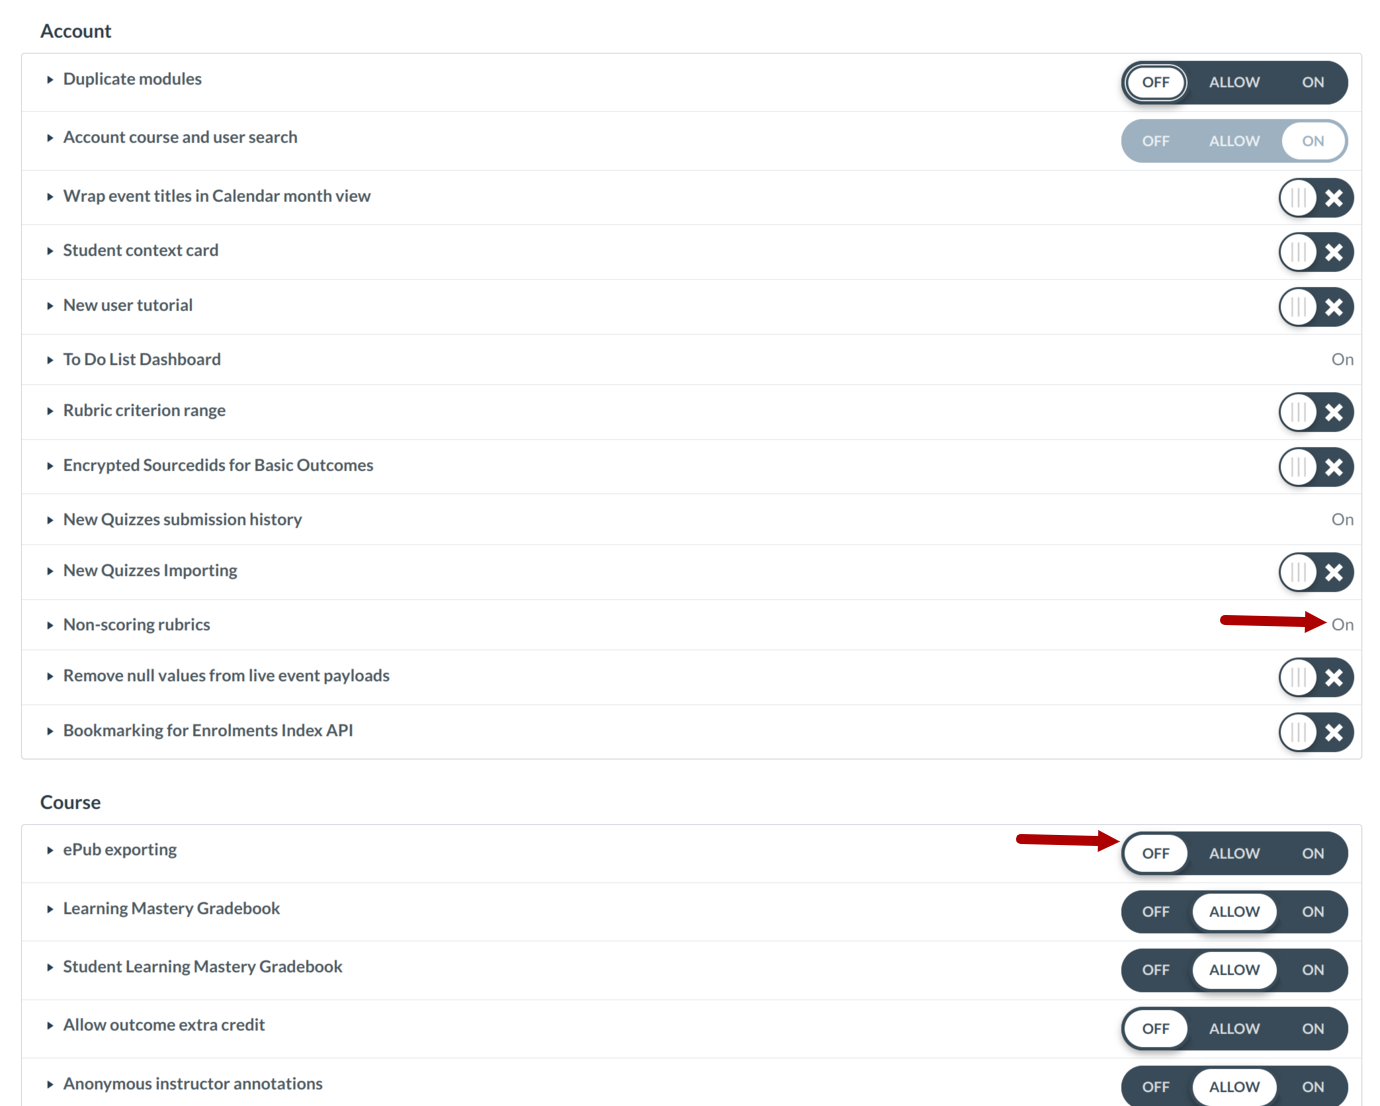
If a feature is turned on by your Customer Success Manager, the feature will display as Enabled. Your account will be required to use this feature.
Feature Allow

If a feature is Allowed by your Customer Success Manager, you can choose how you want to manage the feature for your account. The feature will display three options:
- On: Select this button to turn on this feature for accounts and sub accounts. Your instructors will be required to use this feature in their courses. This option is good for features that need to be implemented across the account immediately or that have been Allowed for enough time that users have adapted to them (if necessary).
- Allow: Select this button to let instructors choose whether or not they want to use the feature in their courses. This option is good for features that have been requested by instructors or that may need to be phased into the account on a course-by-course basis.
- Off: Select this button to turn off this feature for accounts and sub accounts. This option is good for features that you are not yet comfortable allowing, or features that appear within a semester and you do not want to distract instructors from their courses.
Note: Depending on feature functionality, when you enable a feature to Allow or On, Sublime LMS ™ may display a warning message asking to confirm your option, as some account features cannot be turned off once they are enabled.
Feature Off

If a feature that was previously displayed to you (formerly activated by your Customer Success Manager has been turned off, the feature will display as Disabled. Contact your Customer Success Manager for more information about this change.
Course Level Features

Instructors can view features you've enabled in the Feature Options tab on the Course level. This tab is located within Course Settings.
User Level Features
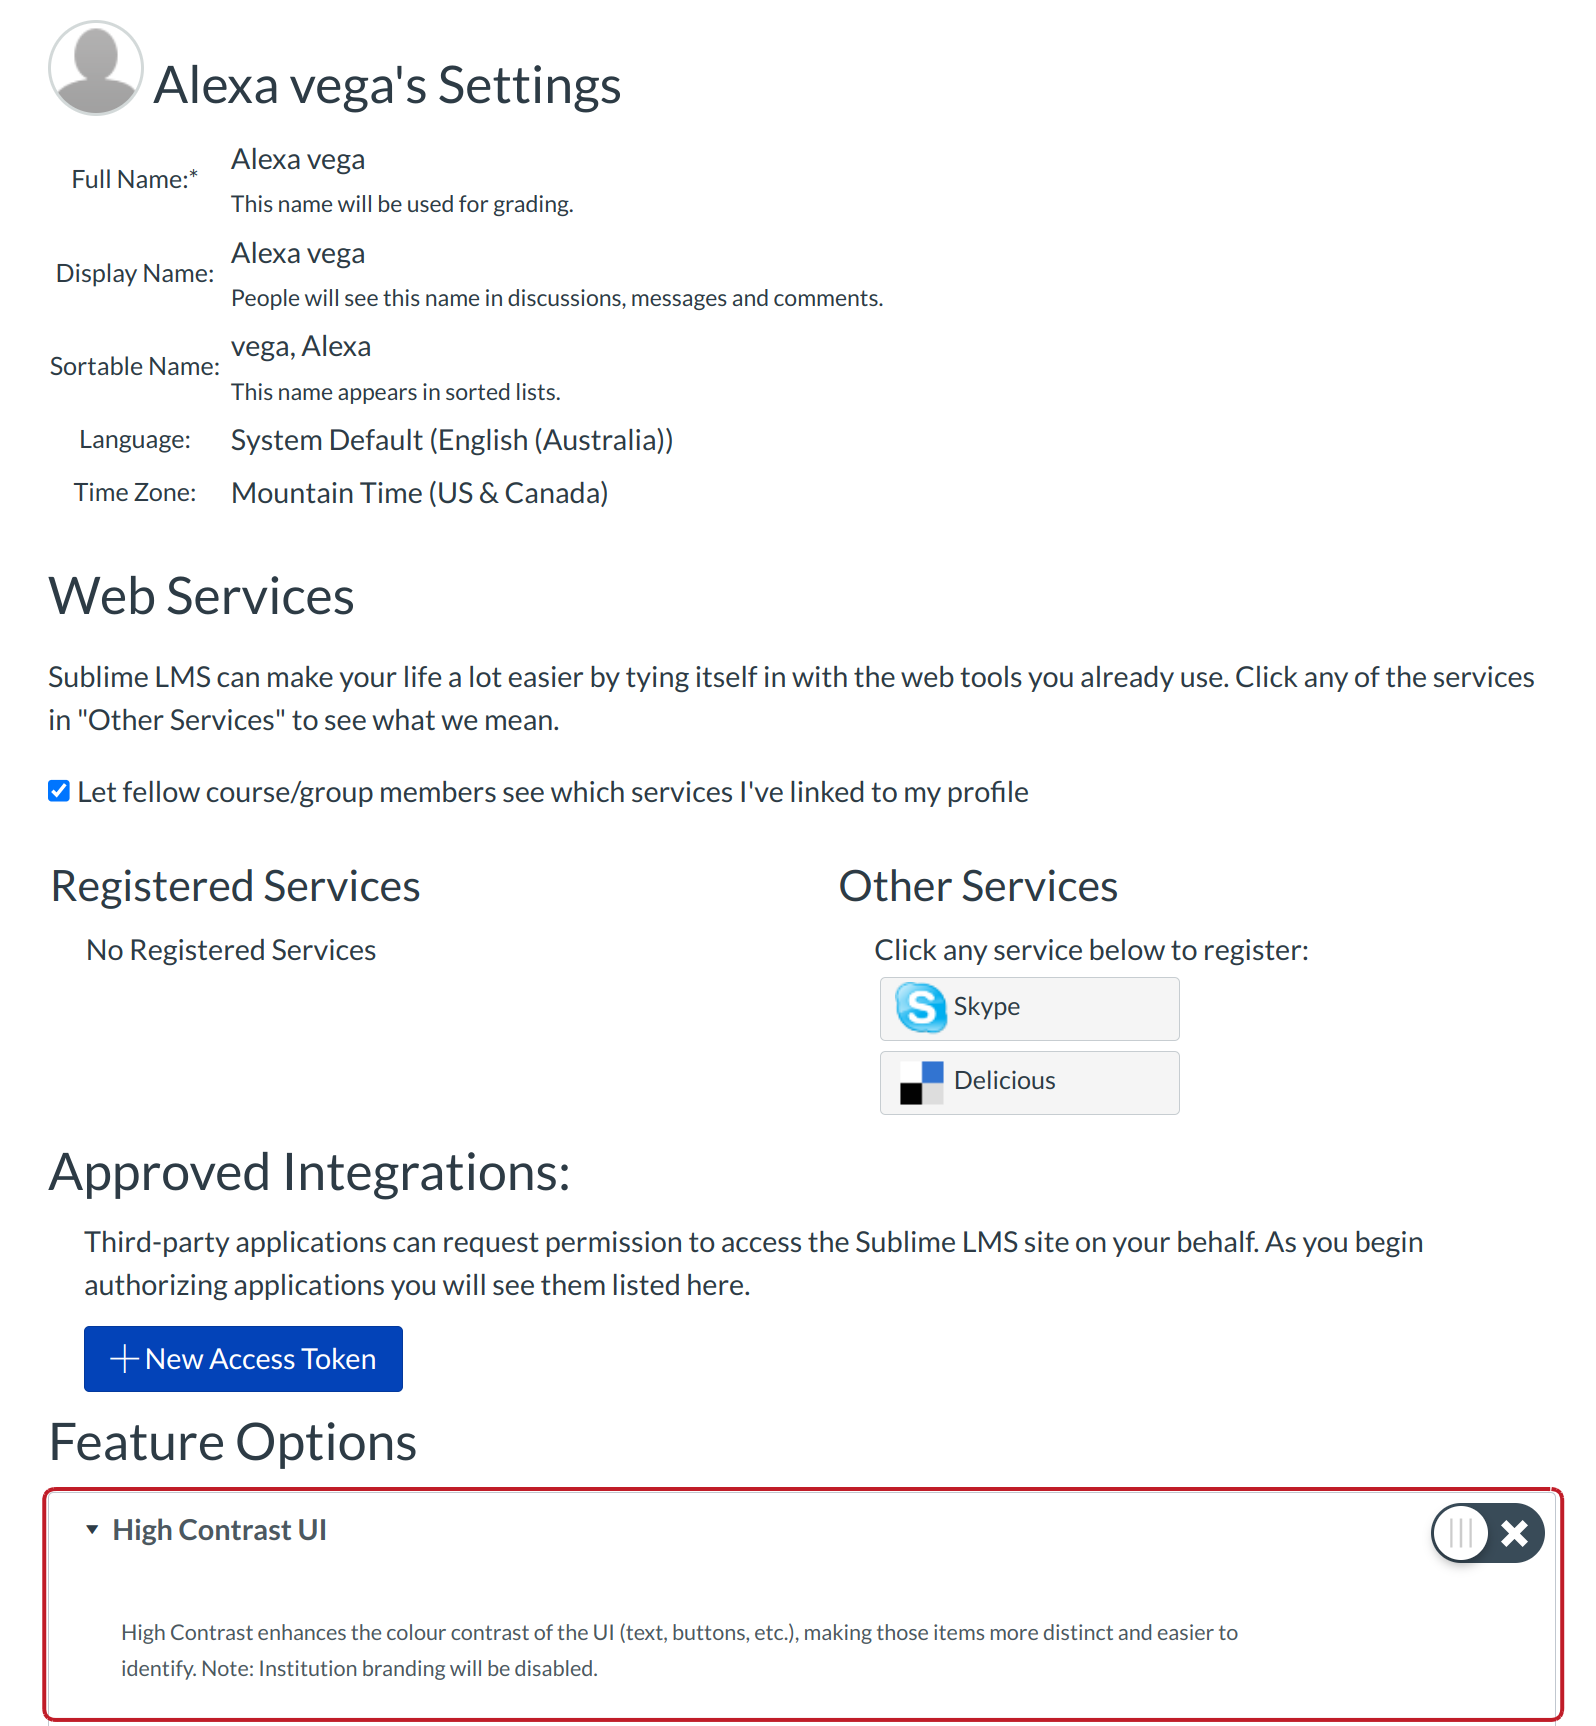
Any features activated on the user level are displayed under the Feature Options heading at the bottom of Profile Settings. User level features are activated by your Customer Success Manager.
Note: Admins have no control over user-level features.
