How do I create groups at the account-level?
Creating groups at the account-level is similar to viewing groups at the course-level. The groups created at the account-level will still show up in the Courses & Groups menu in the Global Navigation menu. You can also created groups at the sub-account level.
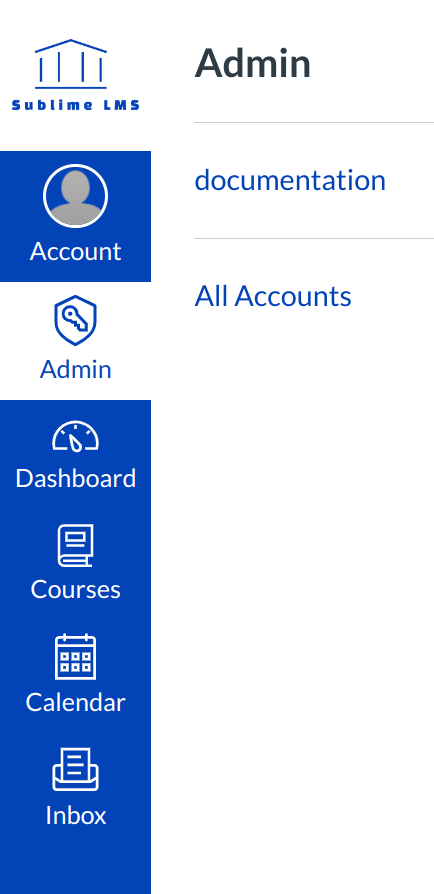
Open Account

Click the account title link.
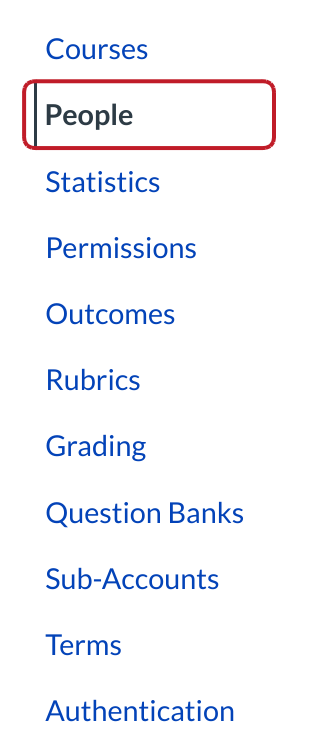
Open Users

In Account Navigation, click the People link.
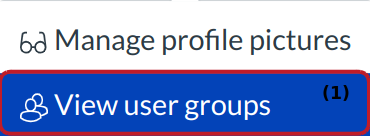
View User Groups

Find and click the View User Groups button at the side bar [1].
View Groups
View the different types of Groups (admin, Teacher,and student) [1]. Click the three vertical dots to Visit Group Homepage [2]. Click the + Group icon to search and add users to groups.
Note: Once users have been added, you can use the drag and drop feature to re-assign users to another group.
View Admin Groups
If you have admin groups, they will show up under the Admin Group - 1 tab. To add a new group, click the + Group button.
Note: The group is created in the tab you currently have open. For example, a new group is added to the Admin Group tab when you click the + Group button while that tab is open.
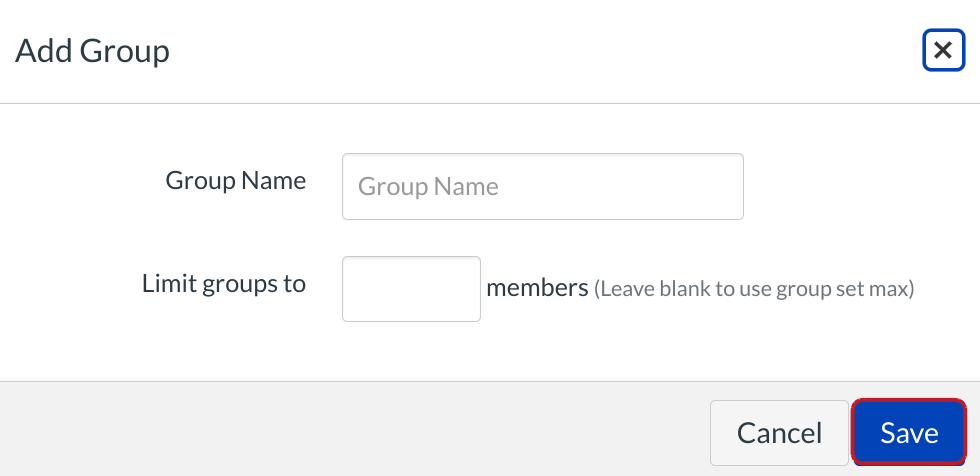
Add Group

Type in a name for the Group Name and click the Save button.

