How do I set a different Calendar event date for each section in my course?
This lesson will help you use different Calendar event dates for each section you have in your course.
Note: You need to add sections to your course before you can set a different date for an event for each section.
Locate Calendar Link

To view the Calendar, click the Calendar link.
Select a Date for the Event
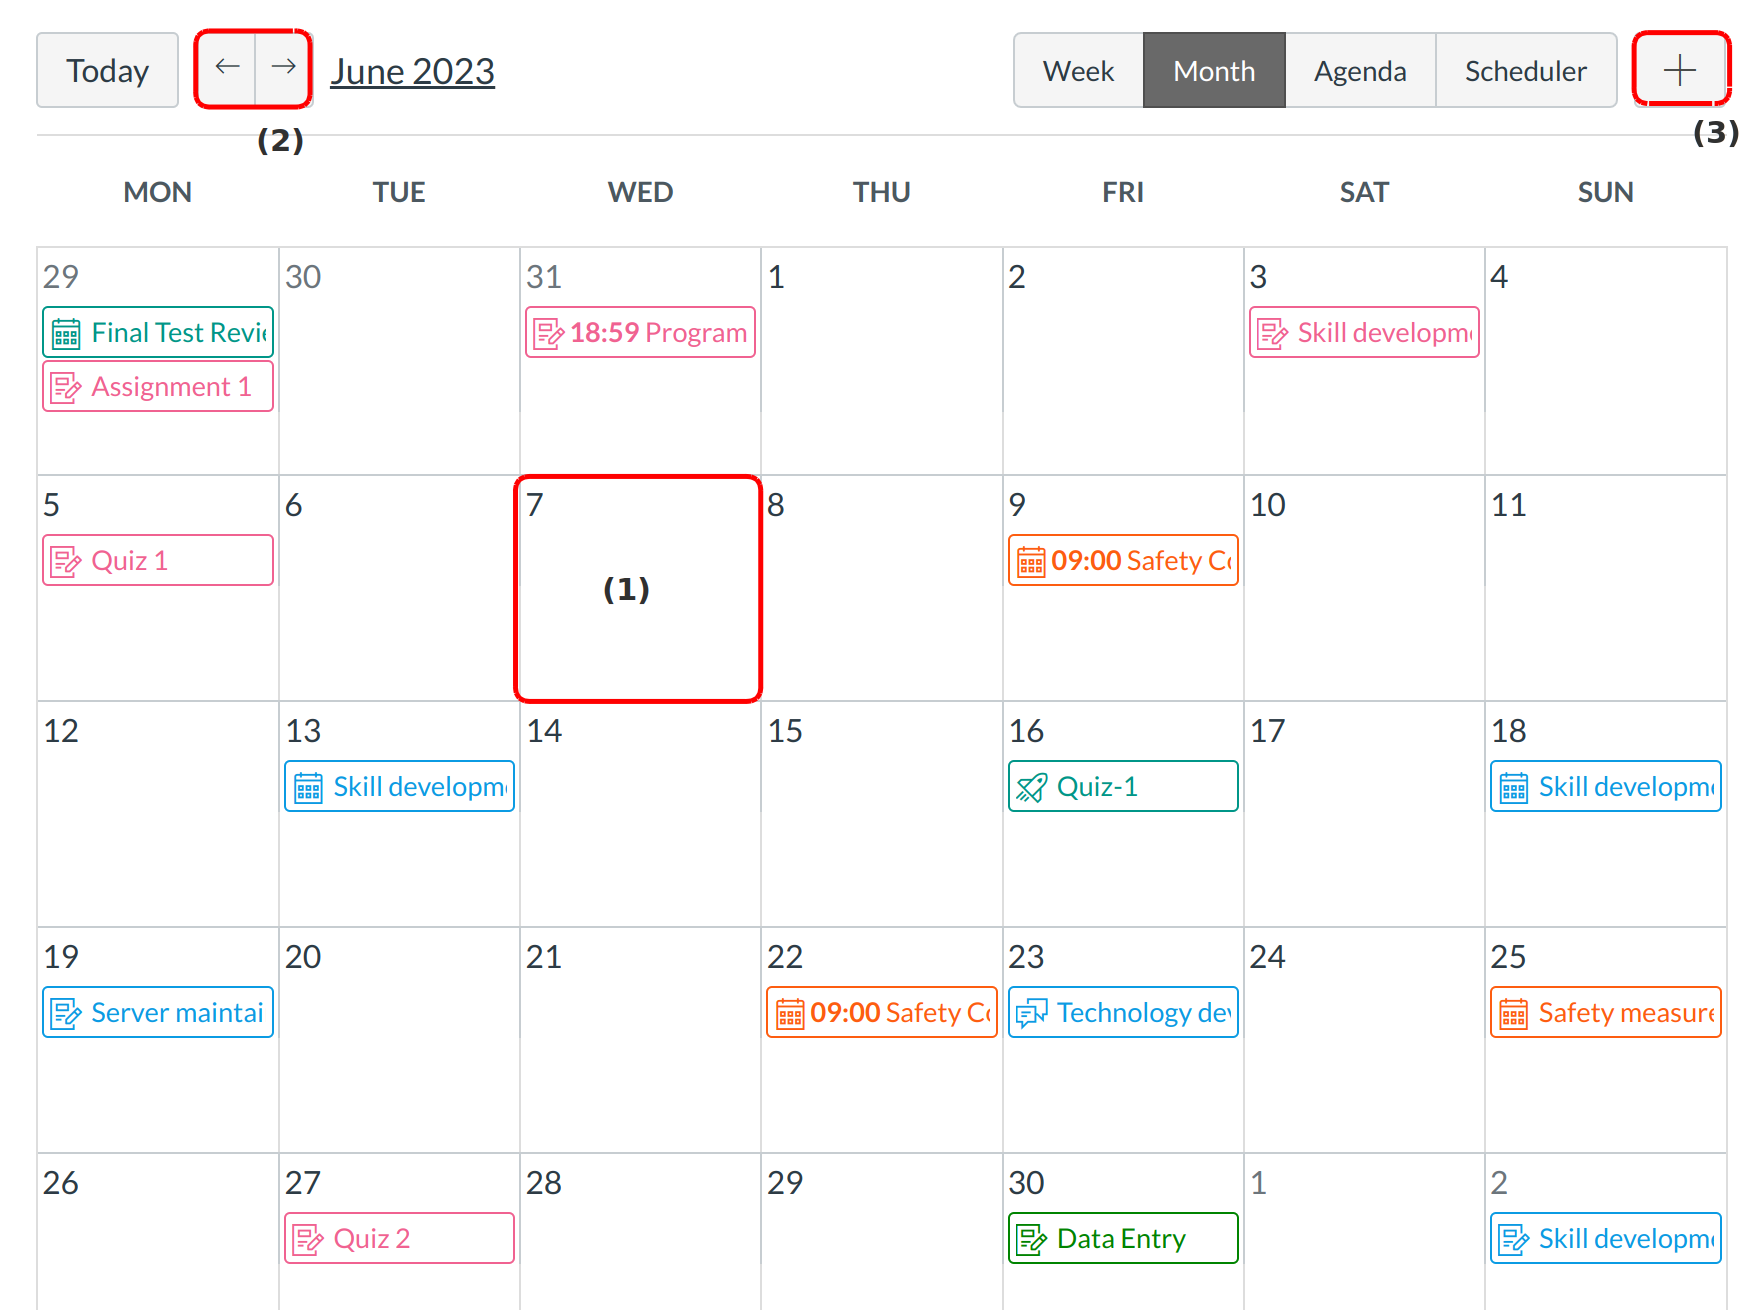
Click any date on the calendar [1] to add an event; click the arrows next to the month name to navigate to a different month [2].
If you don't want to manually locate the date, you can click the Add icon [3] to add an event or assignment to the calendar.
Add New Calendar Event
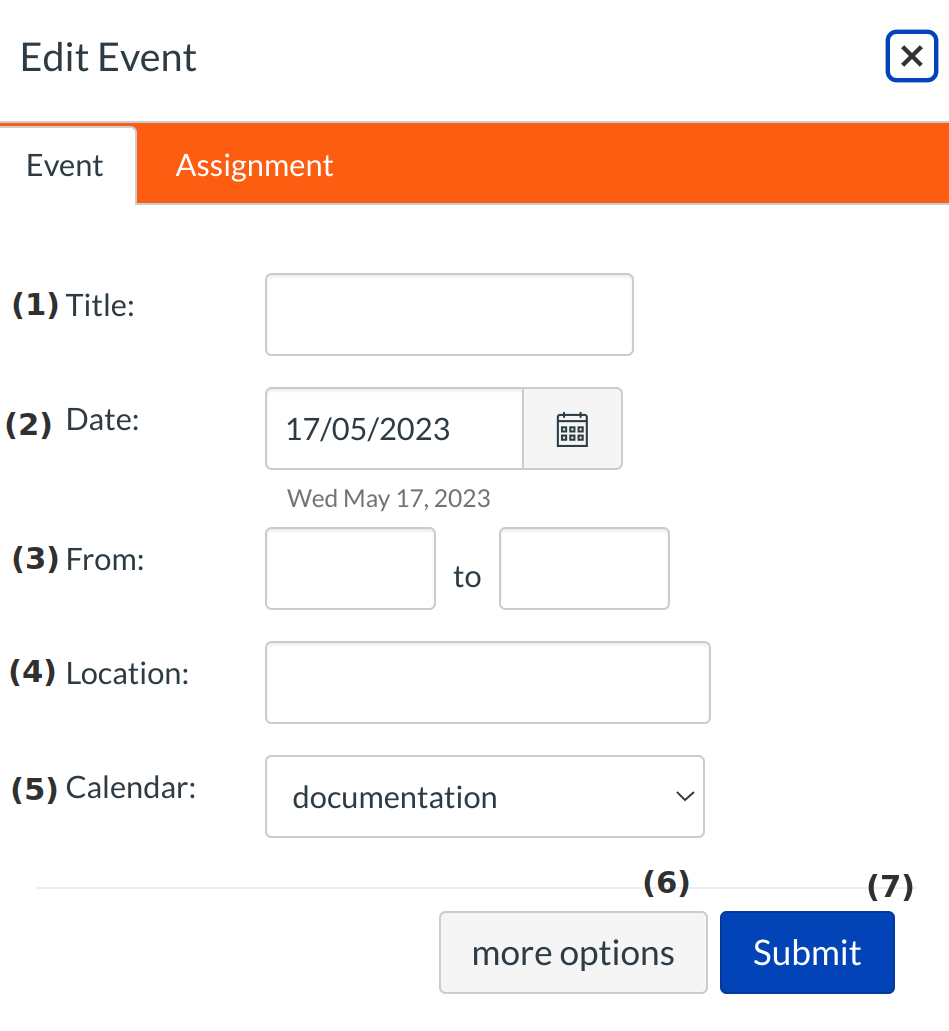
Enter a title for the event [1]. The date will already be entered, but you can change it if you like [2]. Specify the start and end time for your event [3]. Mention the Location of the event [4]. Make sure that the correct course is selected in the Calendar drop down [5]. Click the More Options button to link to files or other resources related to the event [6]. Click Submit [7].
Explore More Options
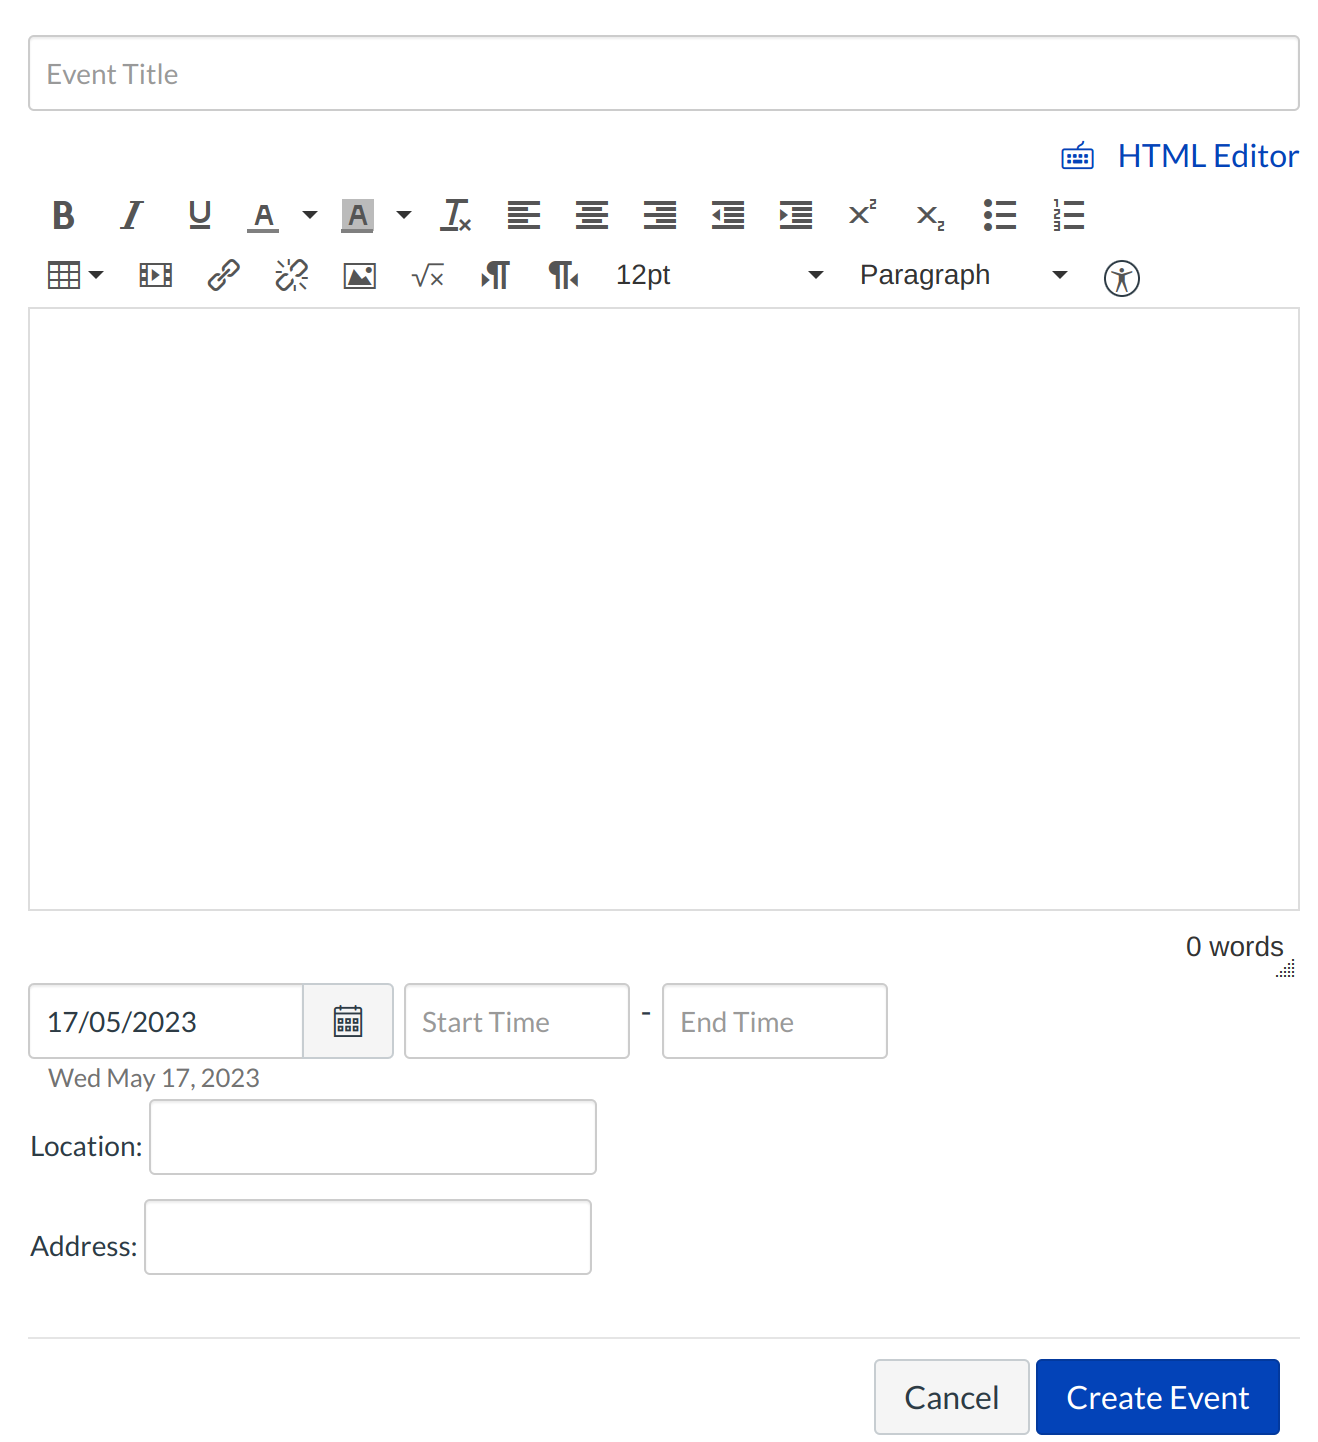
If you click more options, you will be taken to the Rich Content Editor. Here you can add video, images, and links that will assist students as they prepare for the event. Remember, events are not designed to be graded. If you want to hold students accountable for an extracurricular activity, you should create an Assignment, not an event.
View Calendar Events
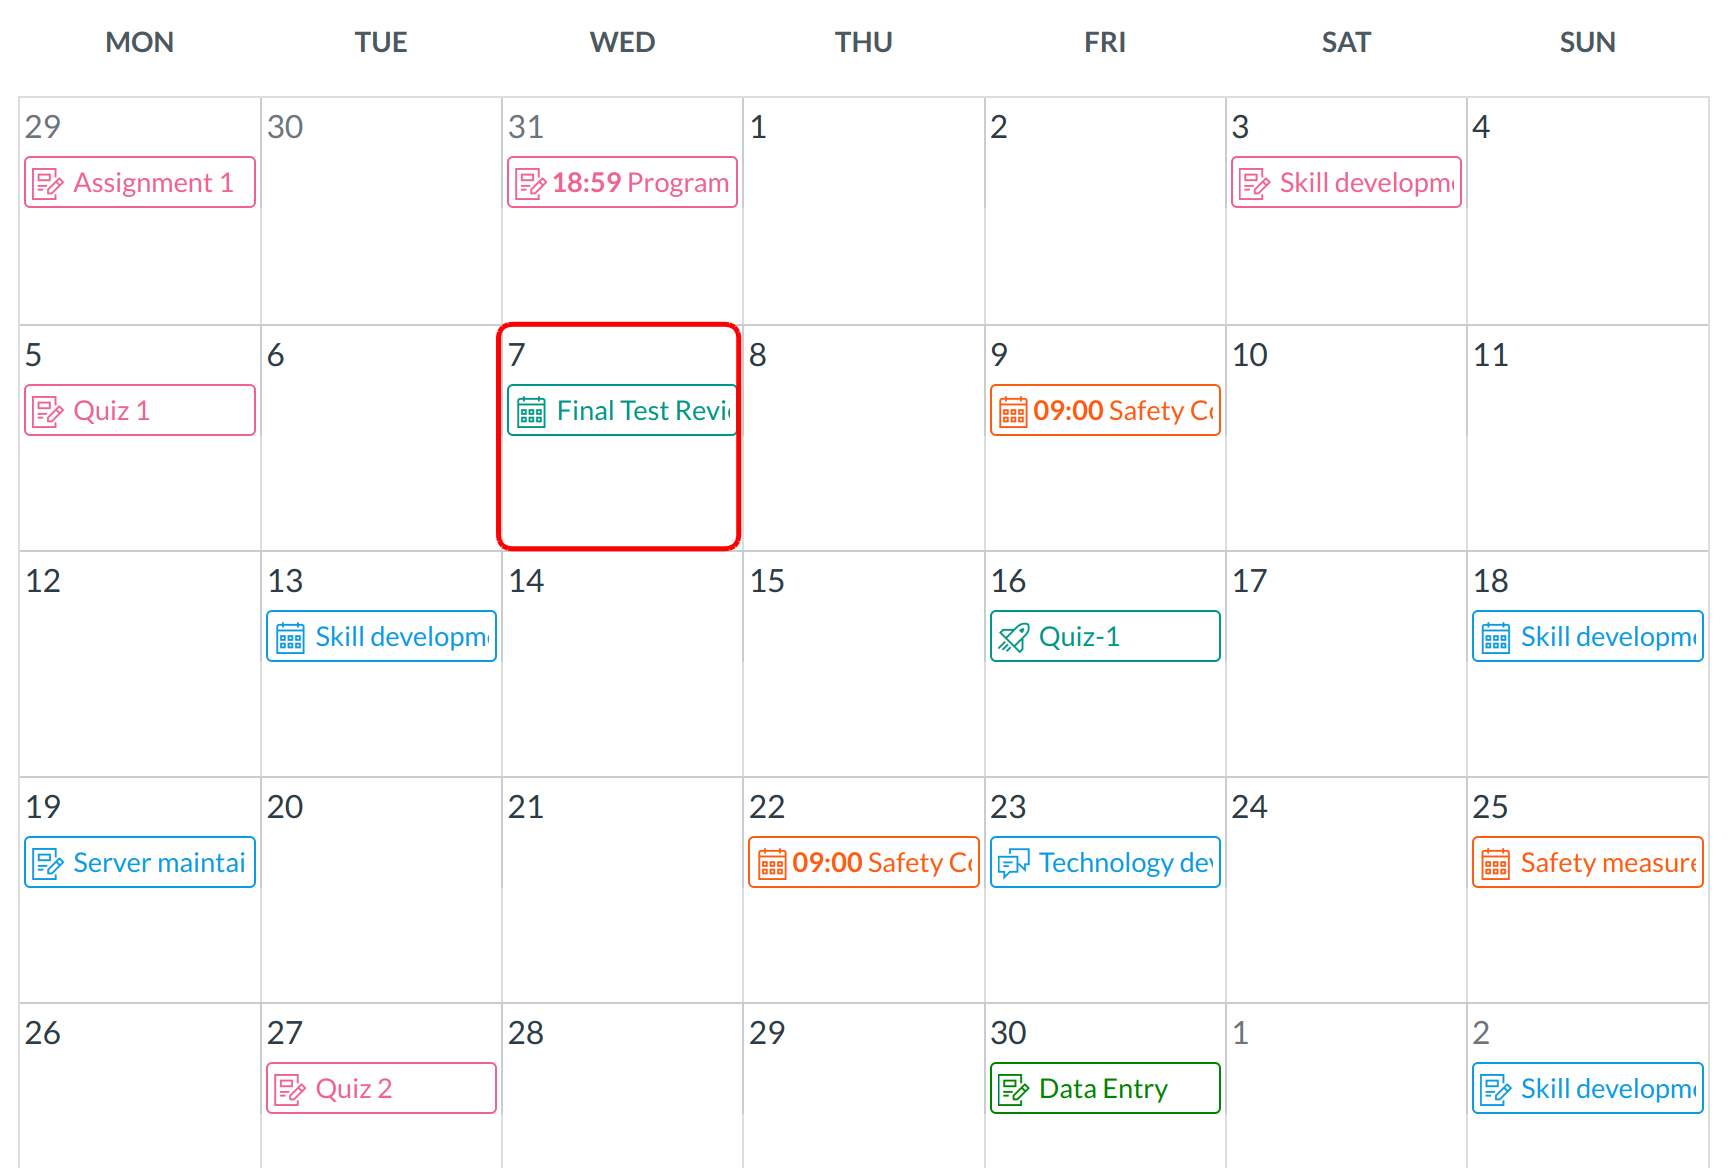
The events will show up in the Calendar. Each section will have a separate Calendar event.
Student View: Event Details in the Calendar
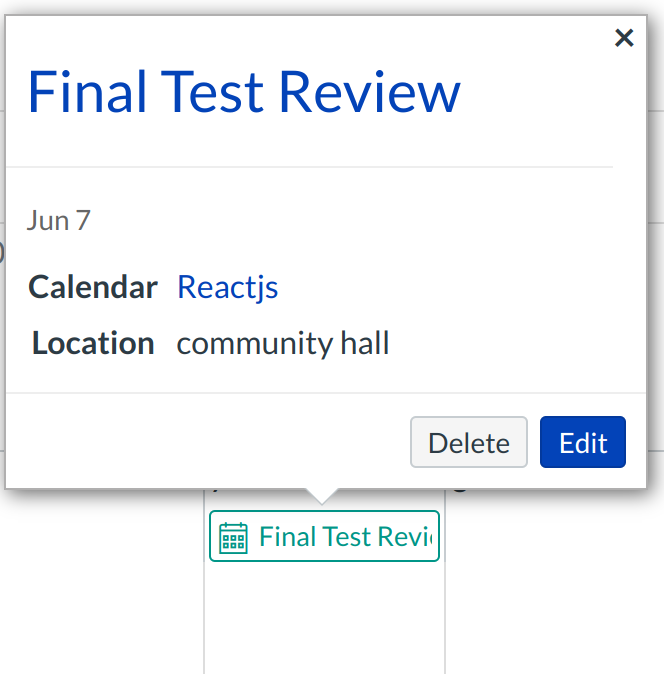
Students will see your event on their own course Calendar. When they click on the event title, they will see a summary page with all of the rich content you've added.
Student View: Calendar Events on the Syllabus Page
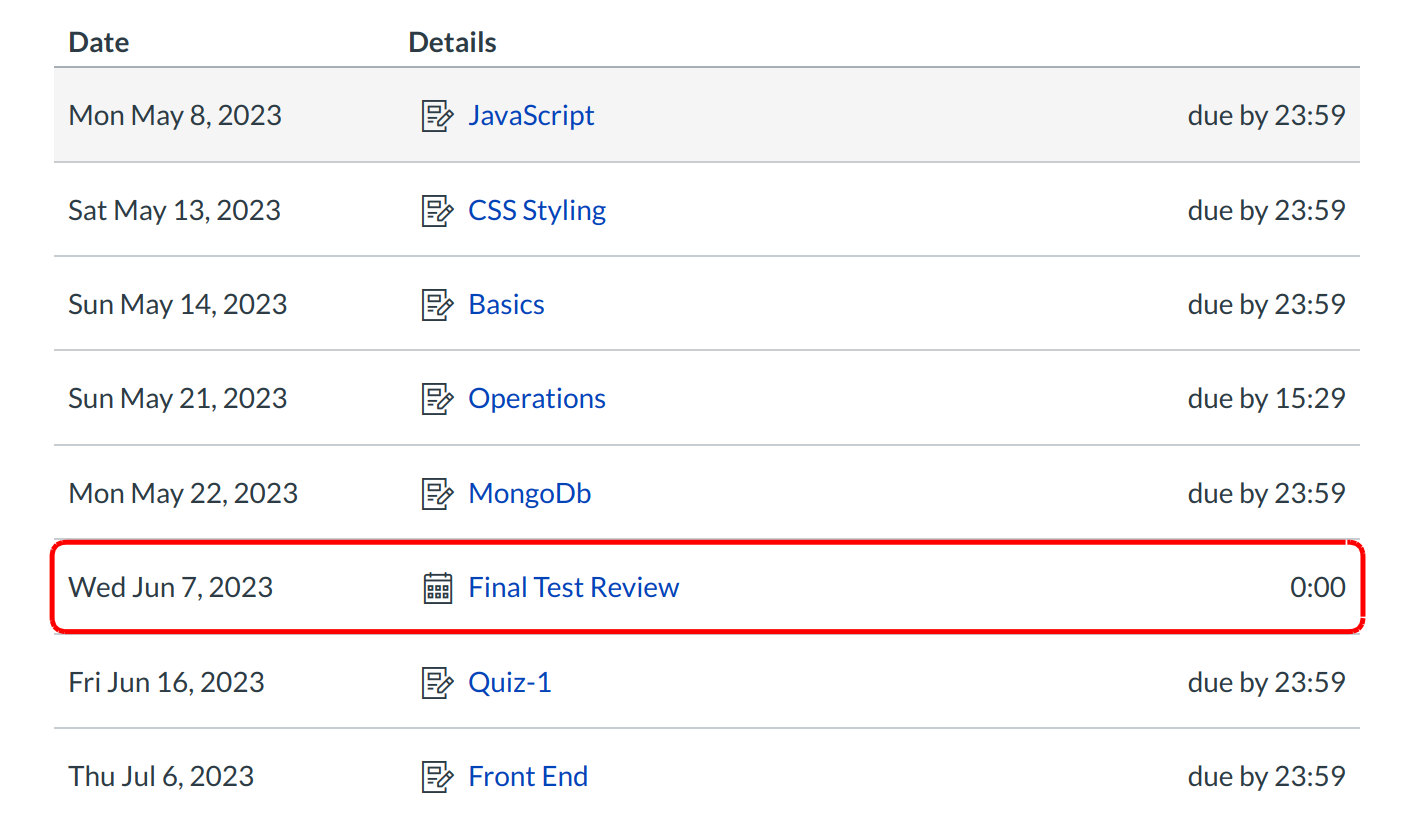
Students will see the Calendar event listed in the Syllabus page. The link will be un-bolded, signifying that it is not a graded Assignment.