How do I use the Scheduler?
The Scheduler tool is optional. If not already enabled for your account, please contact your Customer Success Manager.
Note: Only instructors can create appointment groups.
Locate Calendar Link

To view the Calendar, click the Calendar link.
Open Scheduler

Click the Scheduler button.
Create an Appointment Group
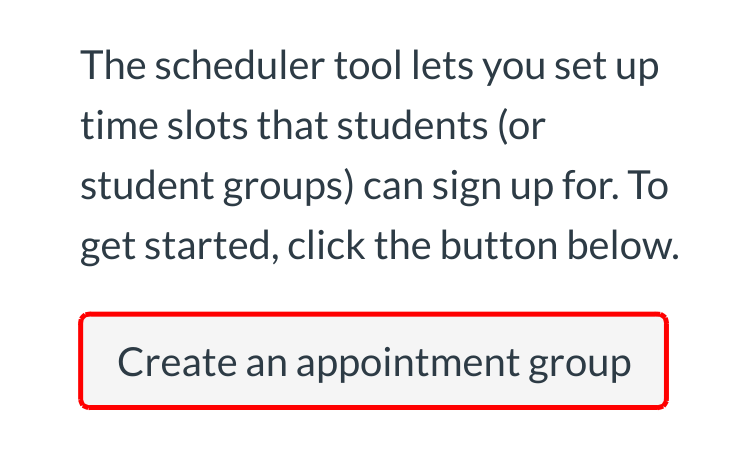
Click the Create an Appointment Group button.
Edit Appointment Group
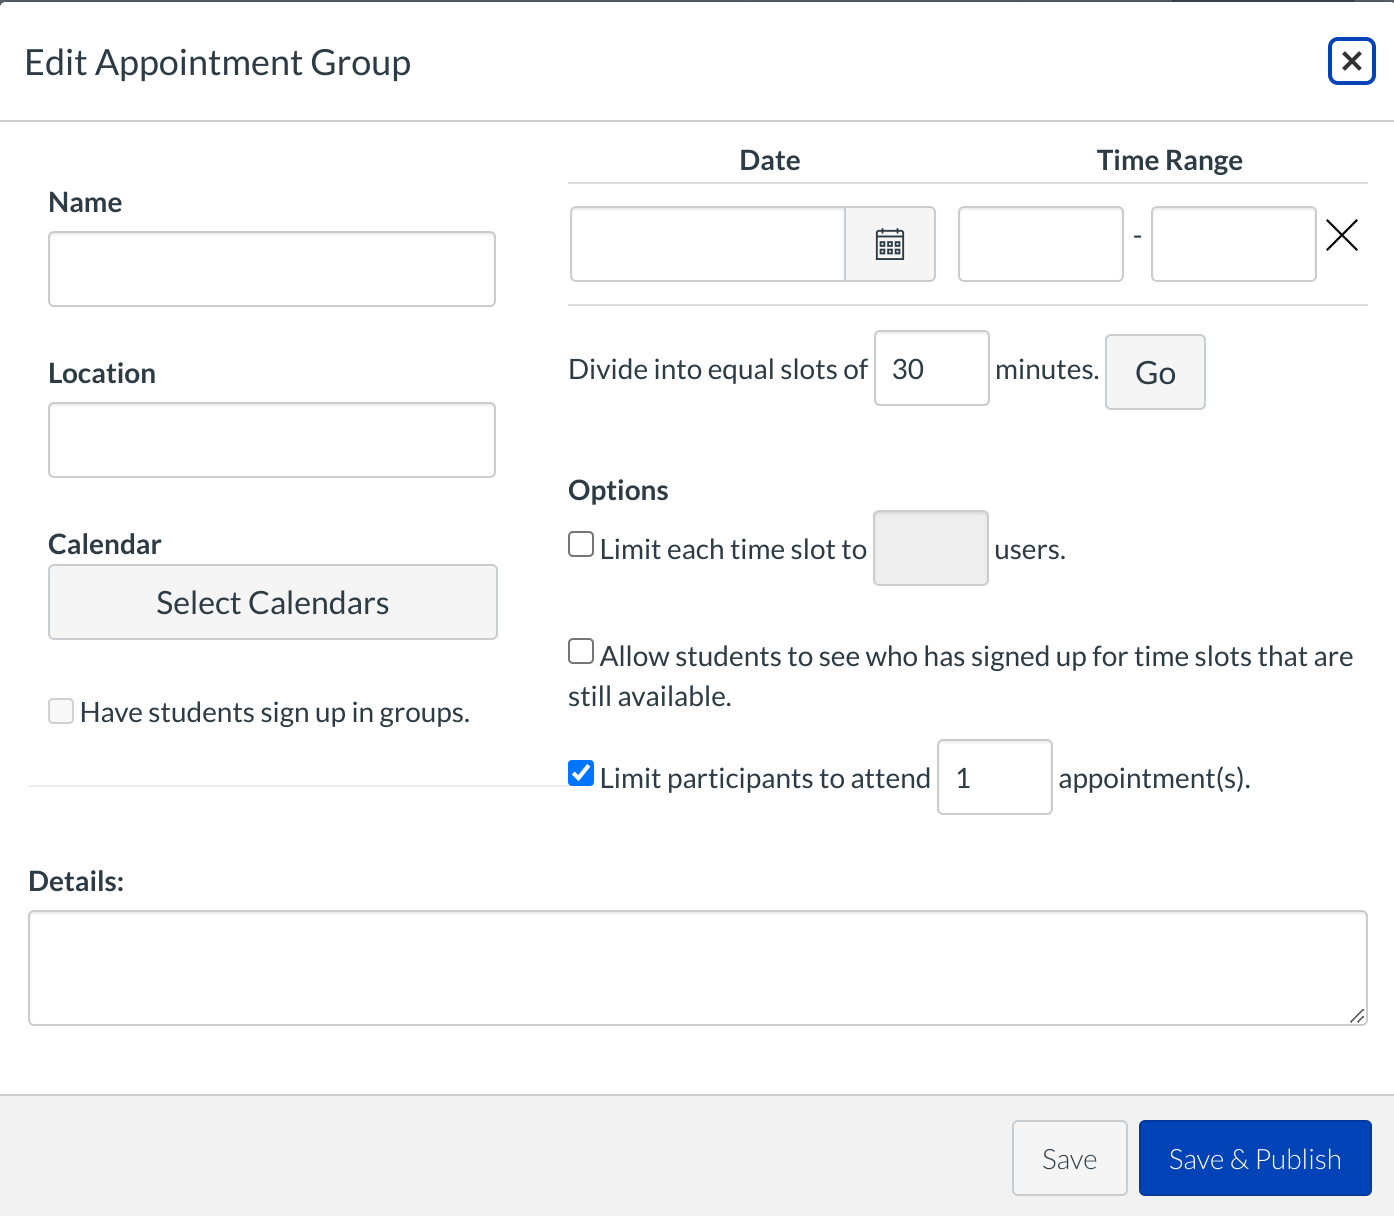
Here you can edit the details of your appointment.
Name Appointment

Type the name of the appointment in the name field [1]. Type the location of the appointment in the location field [2].
Set Appointment Time Range
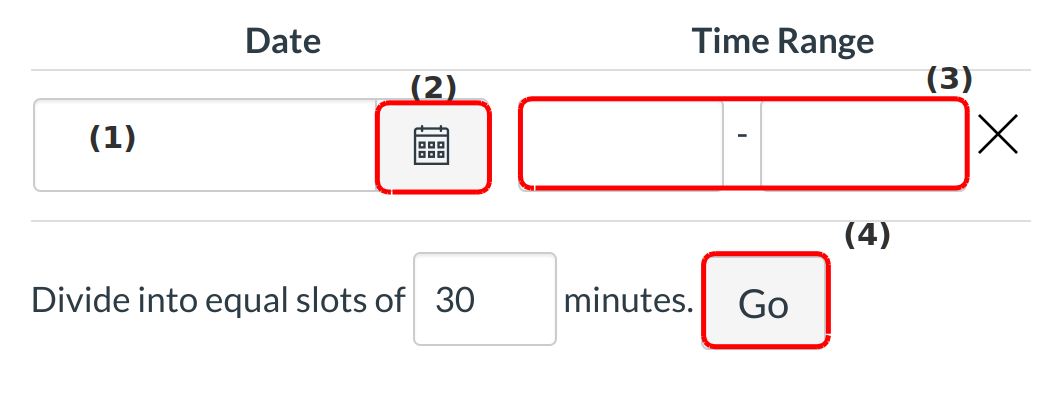
Set the date of the appointment by typing in the date field [1] or clicking the Calendar icon [2]. Set the time range for the appointment by typing in the time range field [3]. Split the appointment into multiple time slots by selecting the length of the appointment slot in the slot field [4]. Make sure you click Go after putting the time range in.
Set Appointment Options
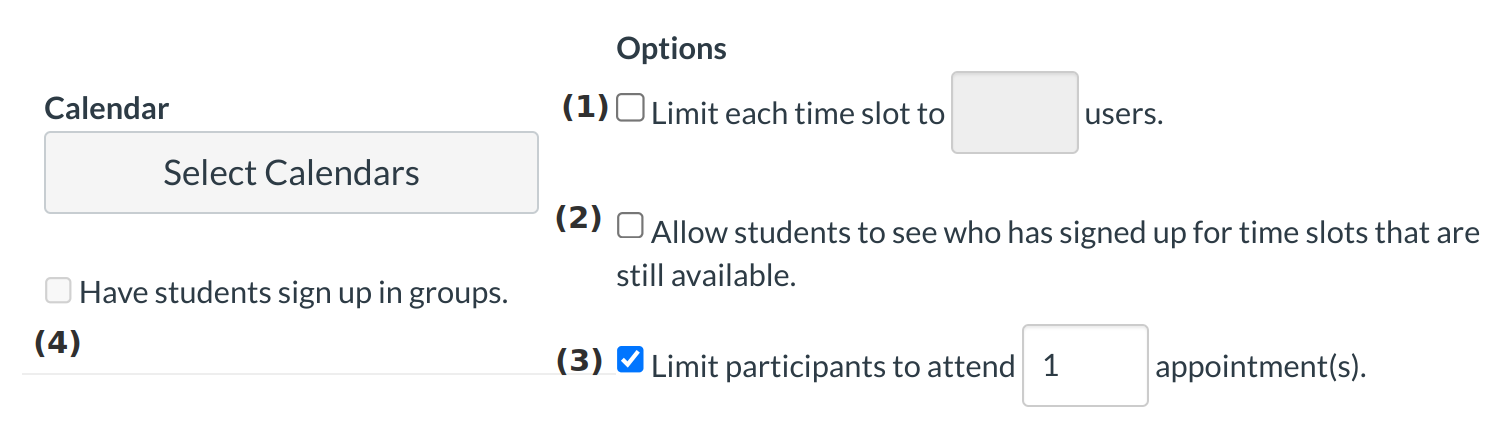
You can Limit how many users can sign up for a time slot by typing the number in the limit users field [1] and clicking the checkbox. Click the Allow students to see who has signed up for time slots in this group check box [2] to make the appointment slots public to students in the course. Click the Limit Participants to [number] appointment(s) checkbox if you want to limit the number of appointments [3]. Click the Have students sign up in groups checkbox if you want students to sign up in groups [4].
Select the Appointment Calendar
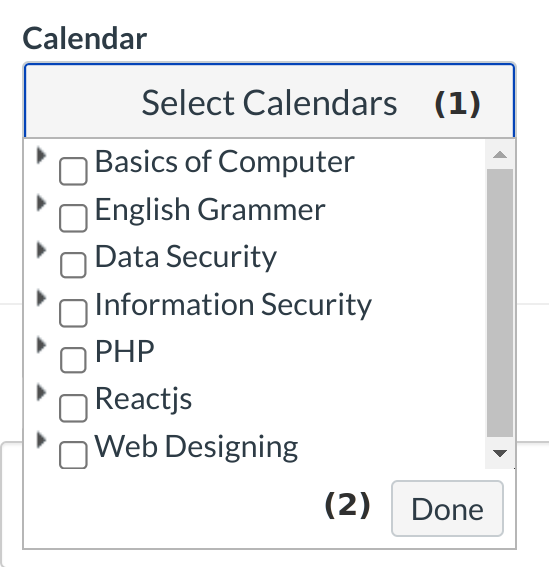
Click the calendar drop-down menu [1] to select which calendar you want to save this appointment to. You can also limit signups to certain sections by selecting them in the calendar drop-down menu. After selecting the calendar, click Done [2].
Add Appointment Details
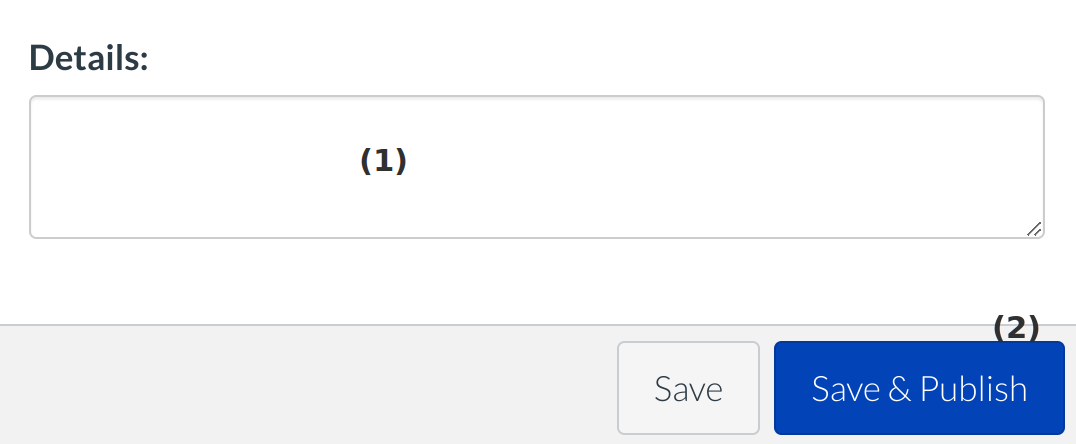
Type the details of the appointment in the details field [1]. Click the Save & Publish button [2] to create the appointment. If you only want to Save the appointment and not publish it, click the Save button instead.
View Appointment
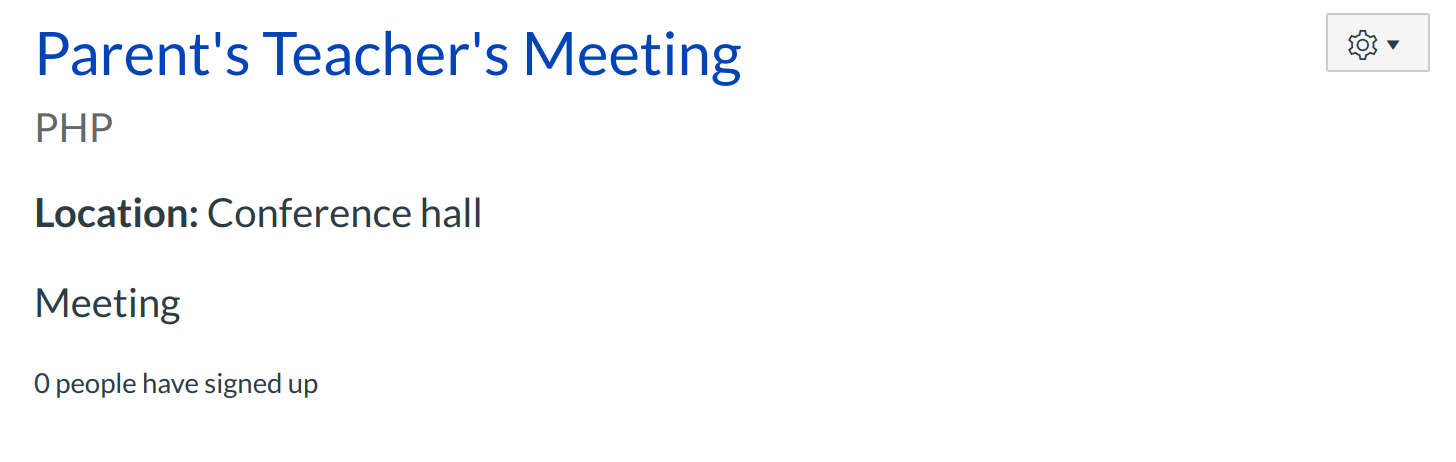
The screen will now list your existing appointment groups.
Edit Appointment
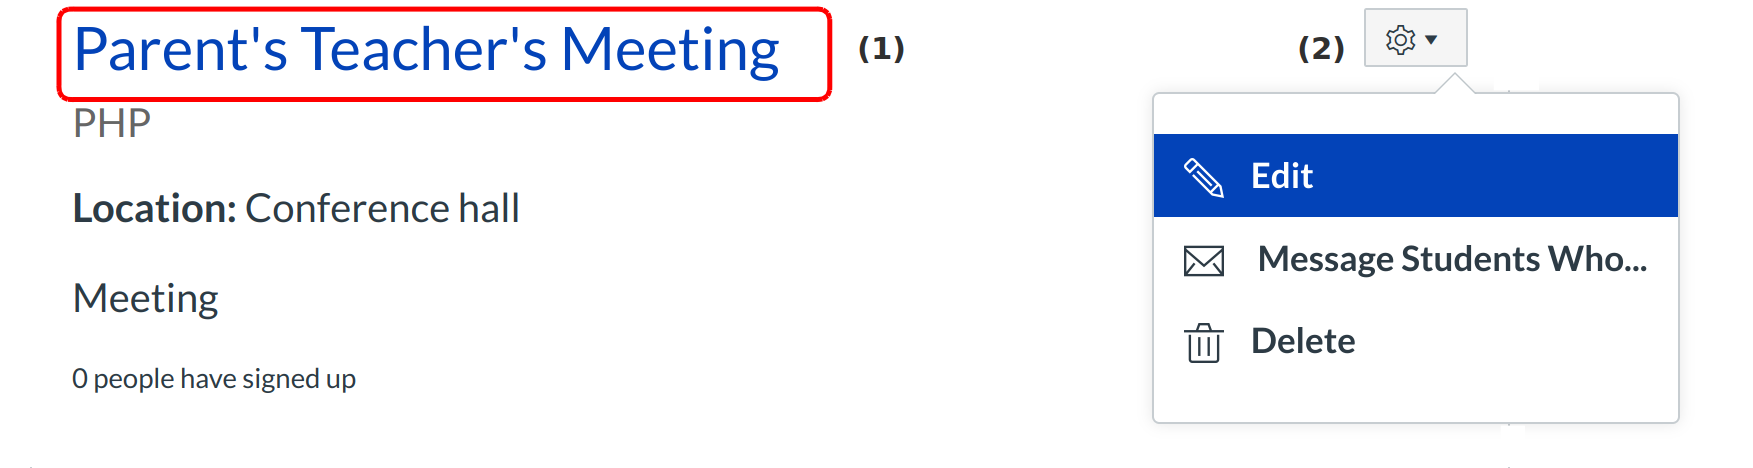
Click the title of the appointment [1] to view the appointment in your Calendar. Click the Settings icon [2] to edit or delete the appointment, or message students who haven't signed up yet.
View Appointment in Calendar
Your appointment will appear in the Calendar. If you selected the time slot option, individual slots will appear on the Calendar.
Student View: Using the Scheduler
Students will see number next to the Scheduler button that represents the number of appointments they have not yet signed up for. Click the Scheduler button.
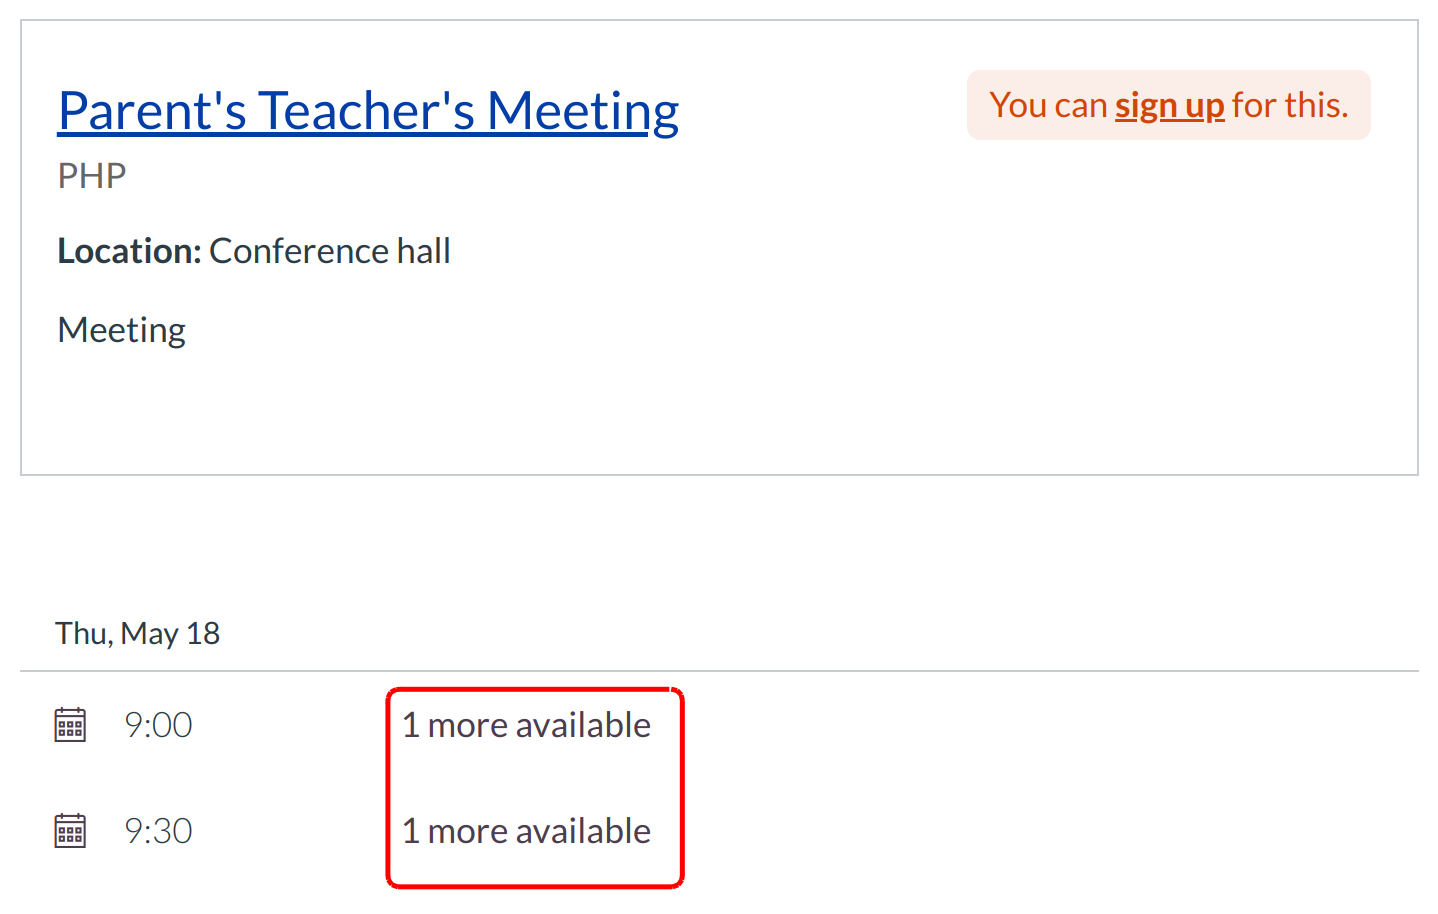
View Appointments
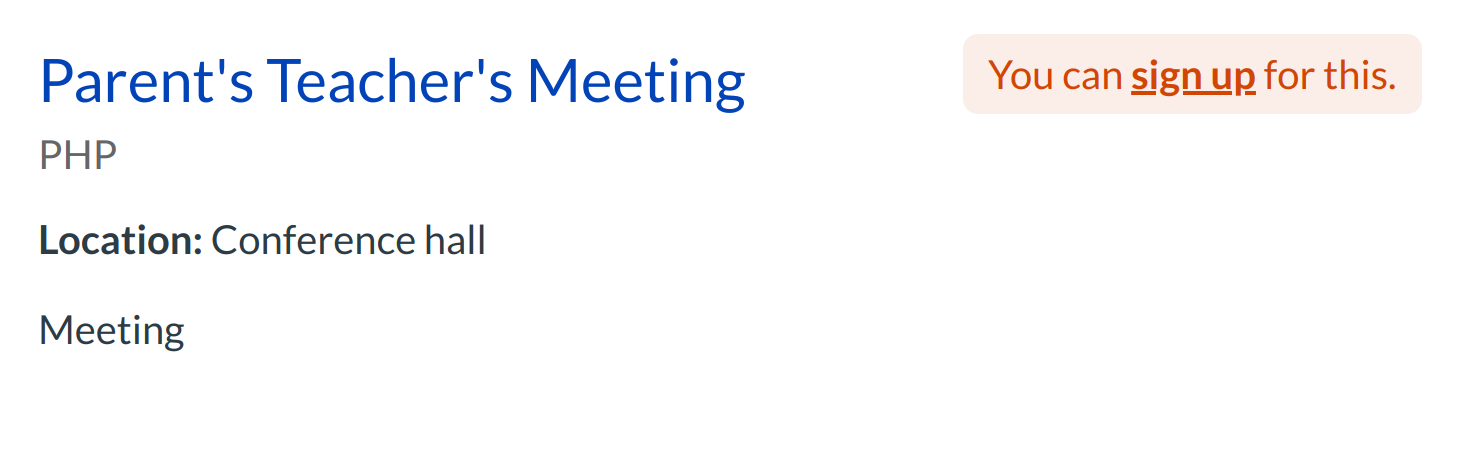
Select the appointment you wish to sign up for by clicking the Sign up link .
Reserve Slot
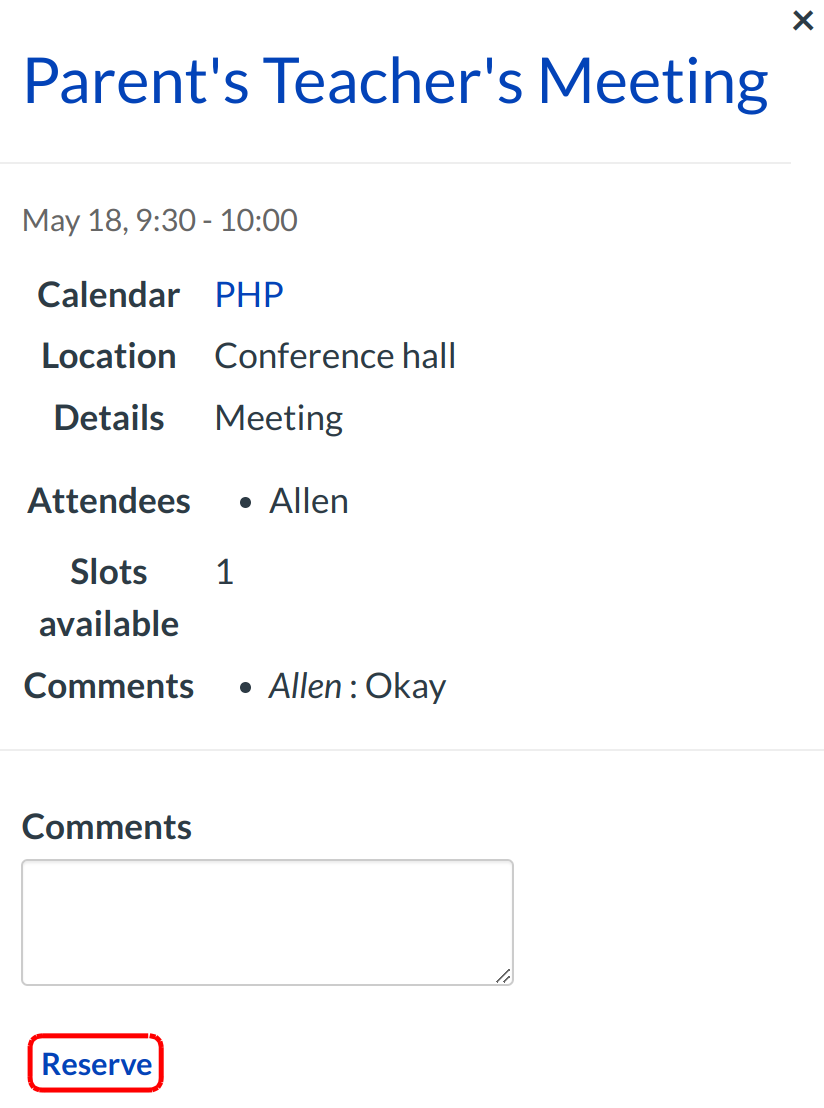
Click the Reserve link to sign up for the appointment.
View Reservation
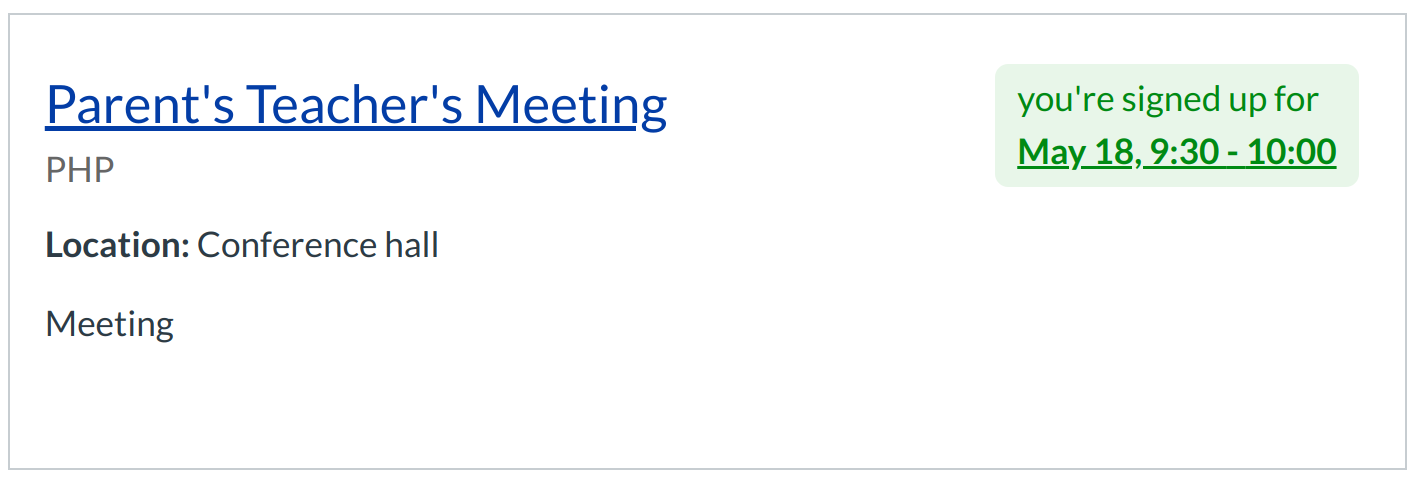
You will get a note saying what time slot you signed up for. Click the Calendar link in the Global Navigation to view your appointment.
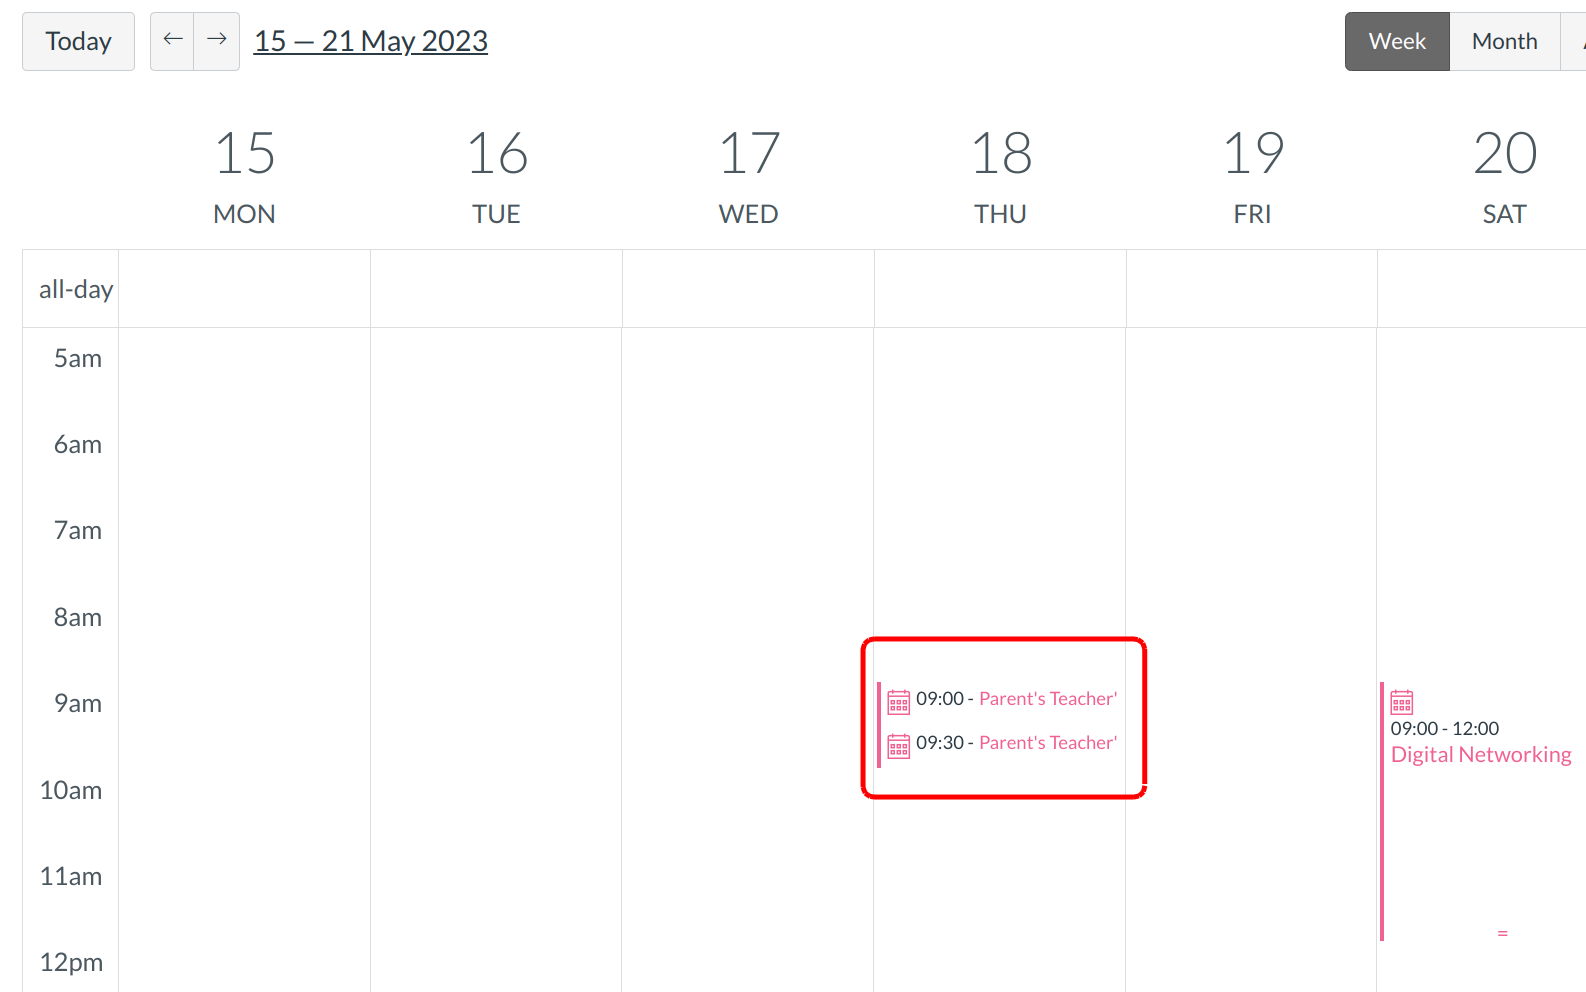
View Appointment via Calendar
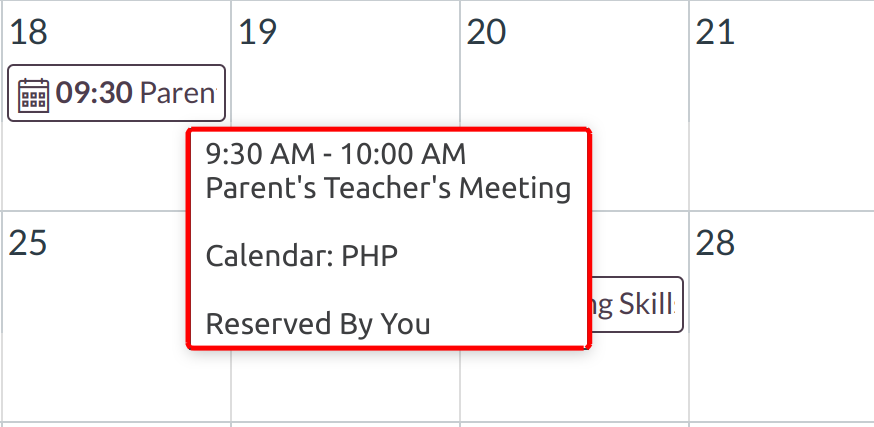
Your appointment will appear in the calendar.