How do I create a Threaded Discussion?
Threaded Discussions lend themselves to the refining of complex ideas. Students can quickly navigate responses and different lines of inquiry using the threaded discussion's hierarchical structure. For example, Threaded Discussions can be long-standing spaces for thoughts that persist throughout an entire course.
Open Discussions
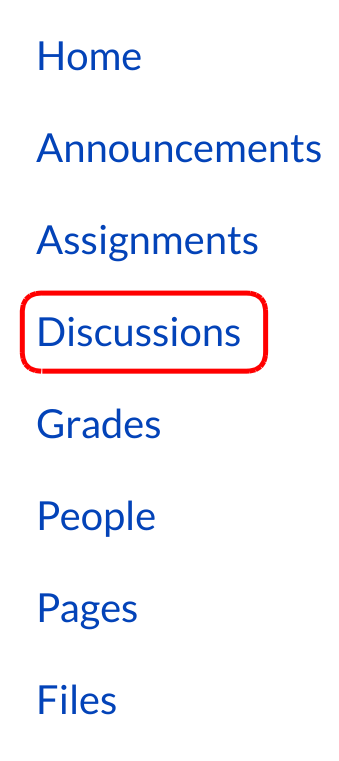
Click the Discussions link on the Course Navigation.
Start a Discussion

Click the Add Discussion button.
Create Discussion
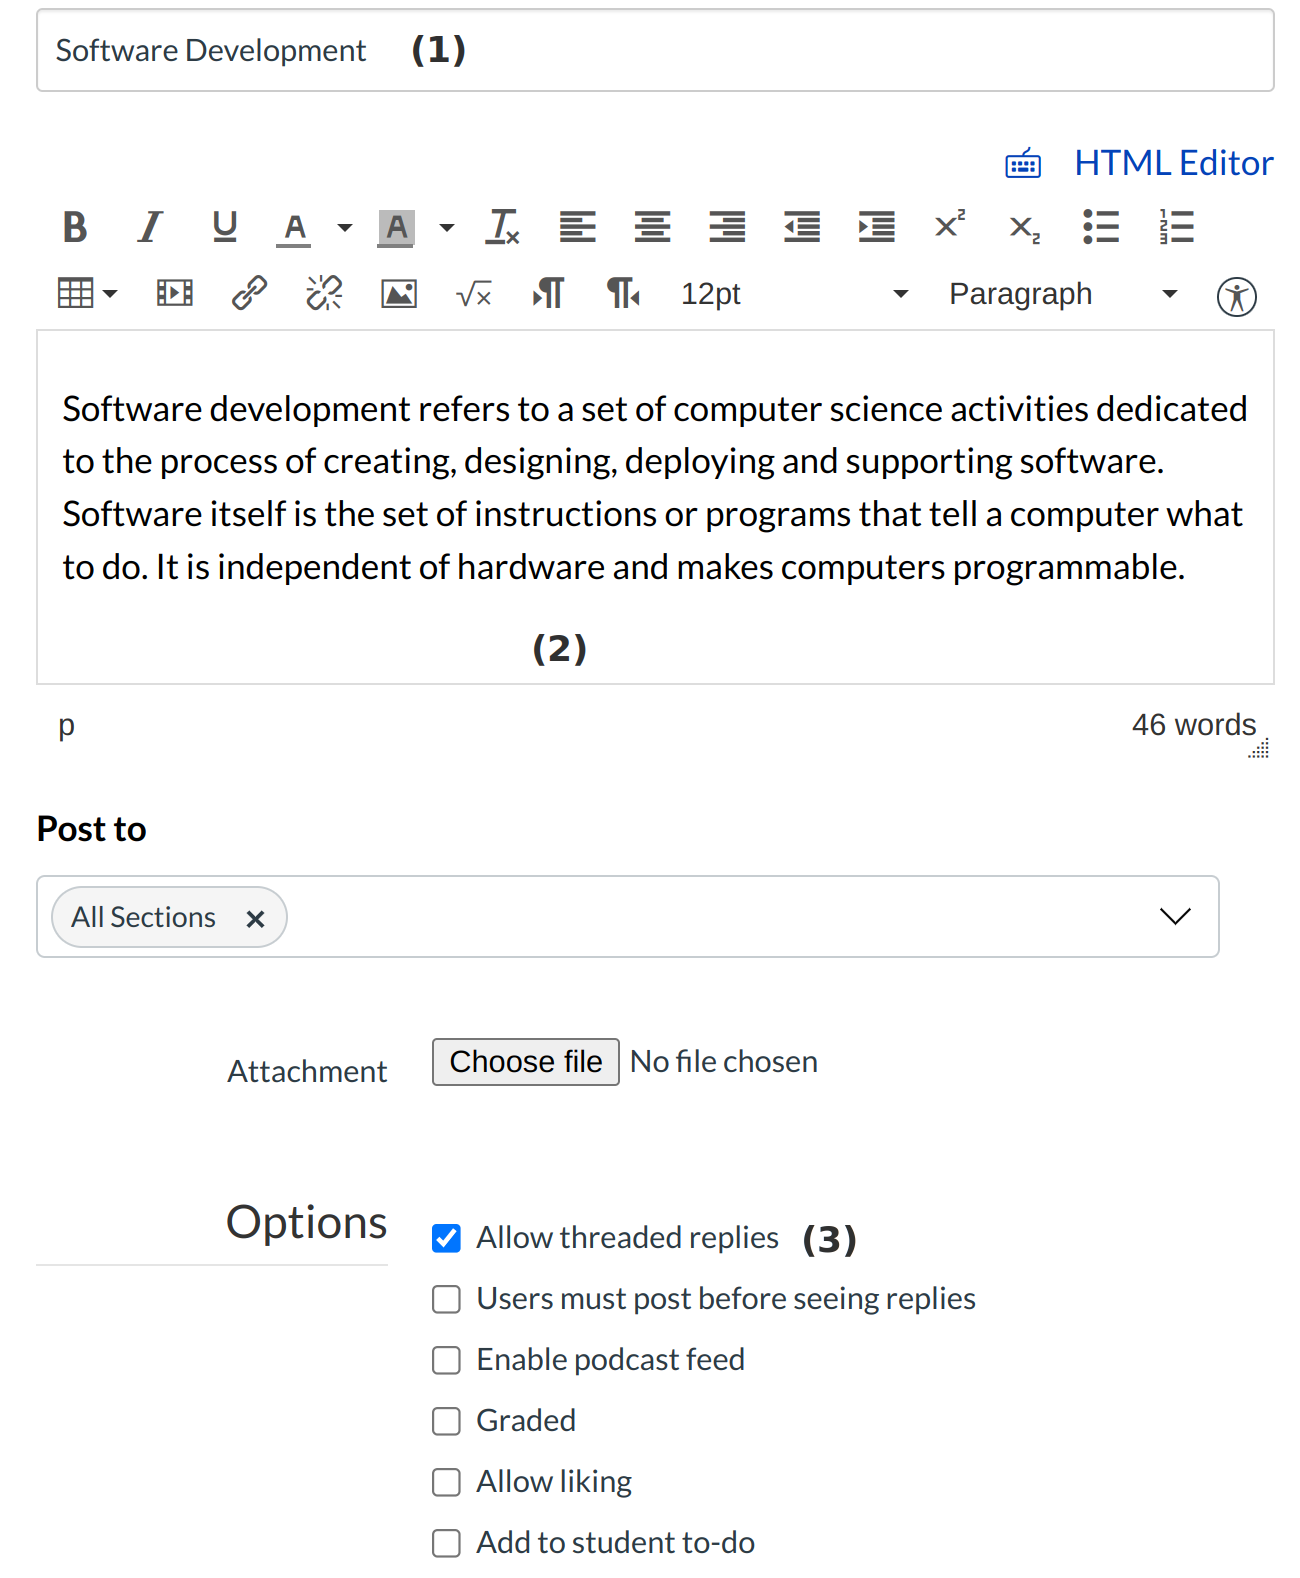
Create your discussion by utilizing the following options:
- Enter your topic title in the topic title field.
- Use the Rich Content Editor to format your content.
- Create a threaded replies by clicking on the Allow threaded replies checkbox.
Save Discussion

Click the Save button.
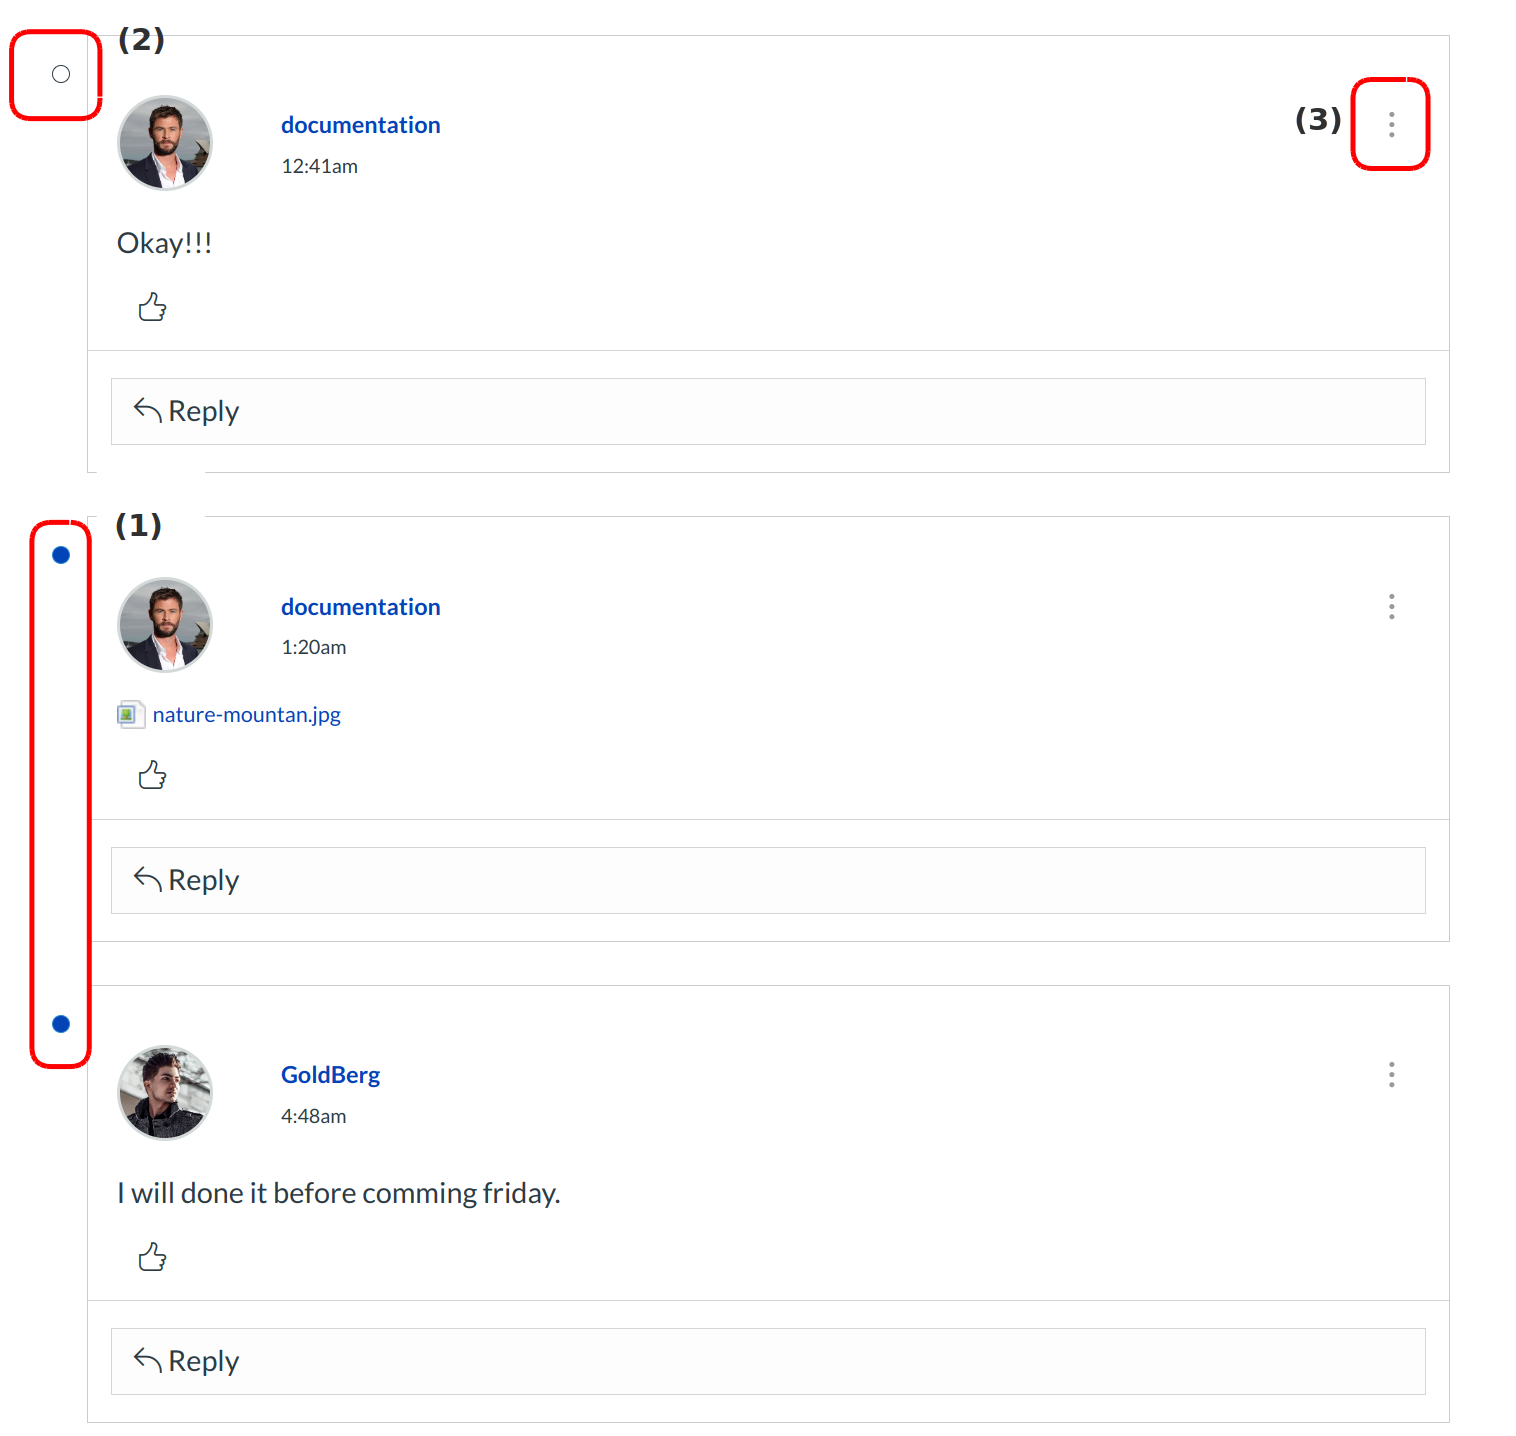
With Threaded Discussions, you can see when a student replies to another student's reply. A blue dot [1] indicates a new reply, and a white dot [2] indicates an unread reply. Click the three-dot icon [3] to select one of the following options in the drop-down menu:
Options present in the three-dot;
- Click the Go To Parent link to return to initial discussion post or comment.
- Click the Edit link to edit the response.
- Click the Delete link to delete the response.
Note: Graded discussions will also include an Open in Grading Tool link to grade the discussion replies.
View Collapse Replies
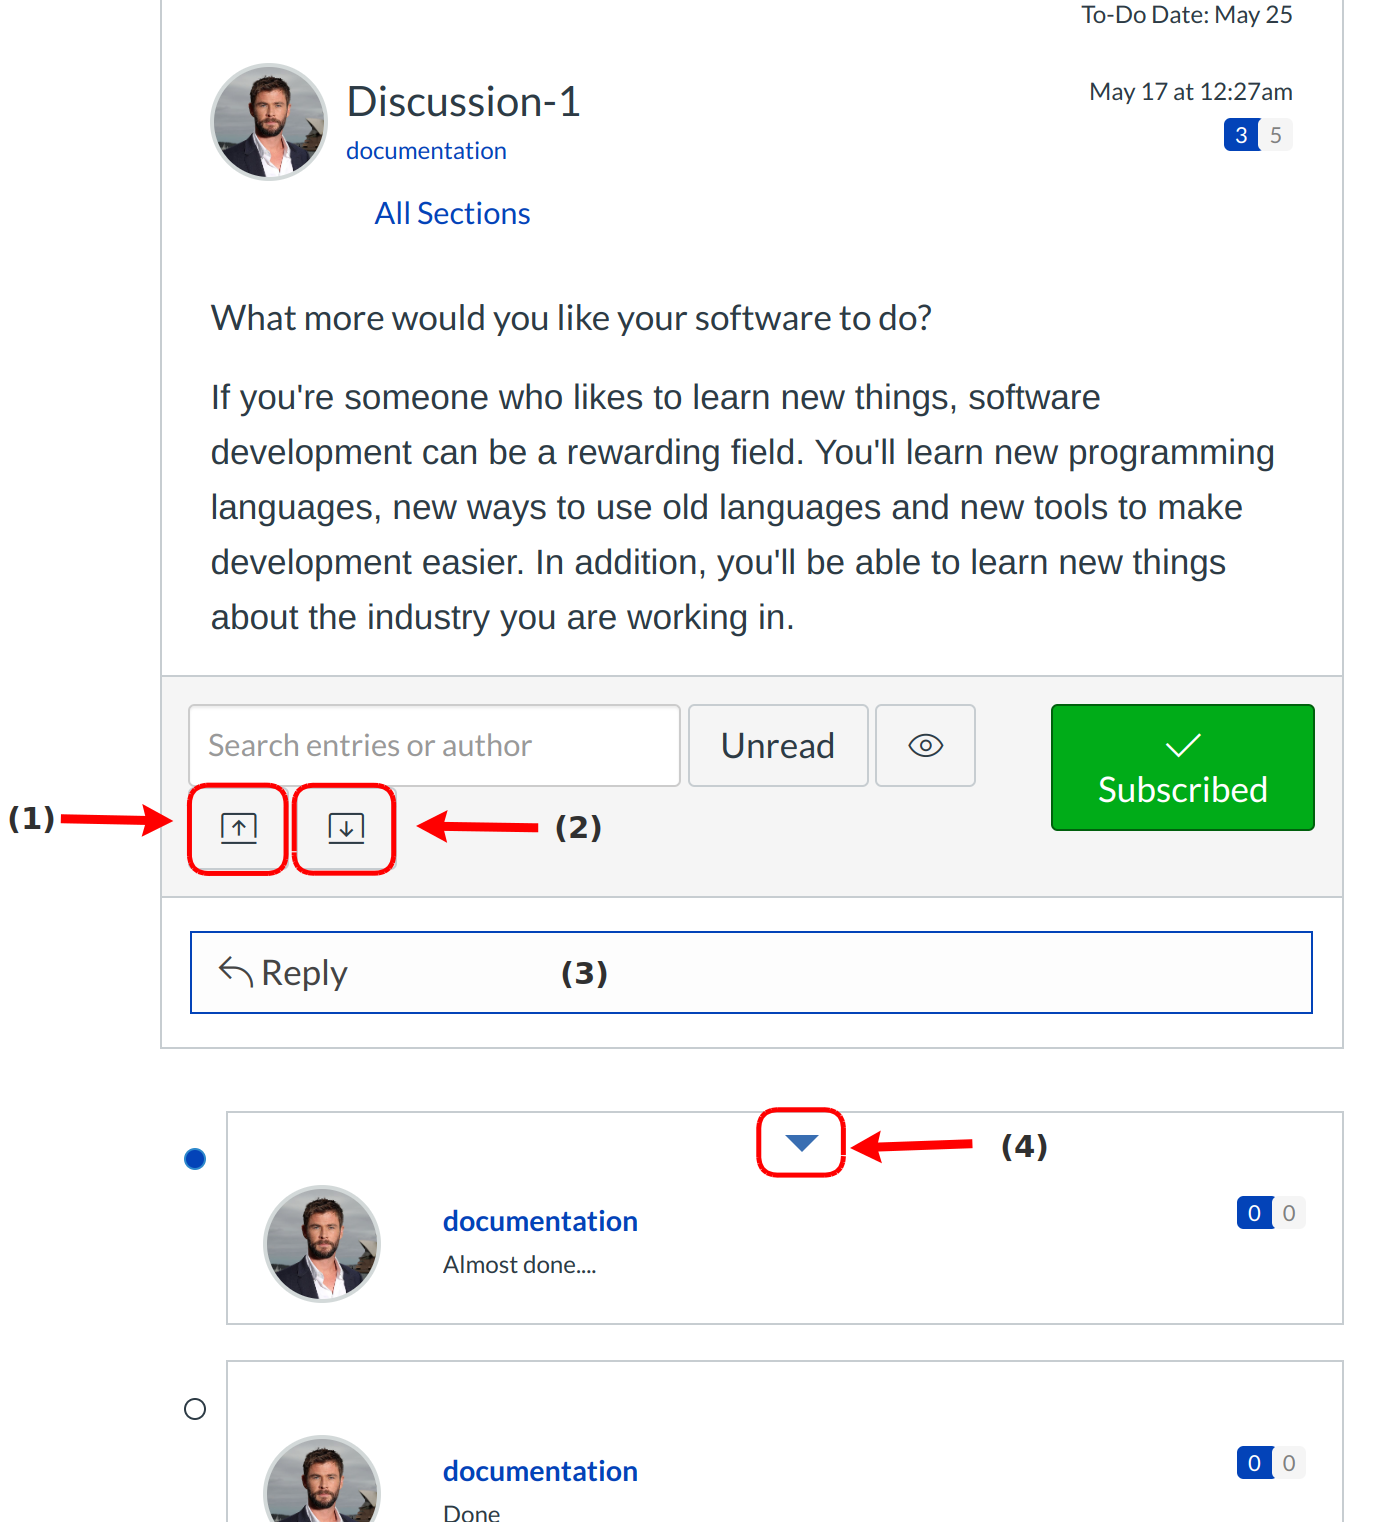
By hovering over the reply, you can collapse all replies [1] and expand all replies [2] to make the Discussion easier to manage. Click the Reply link to reply to the main discussion [3] and also you can collapse and expand a single thread by hovering over the thread [4].