How are Students added to a course?
Instructors invite users to join their courses, and the users must accept the course invitation to view the course. This lesson shows how instructors manually issue courses and enrollments within LMS.
Instructor Issues Course Invitation
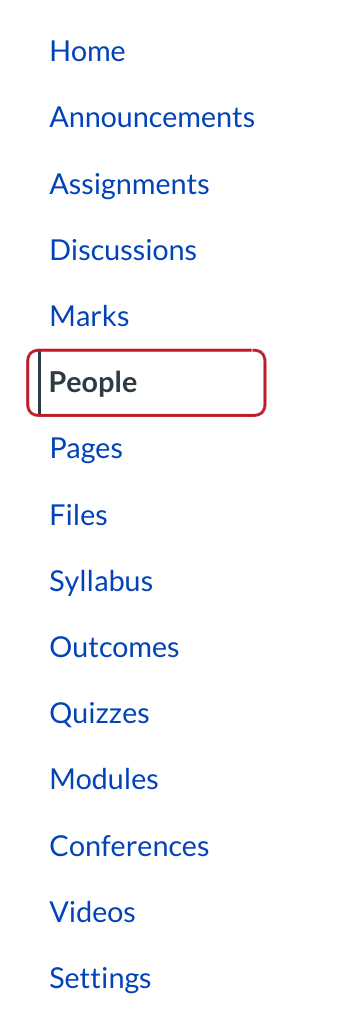
The instructor accesses course invitations from the People link in the Course Navigation Menu.
Submit Email Addresses
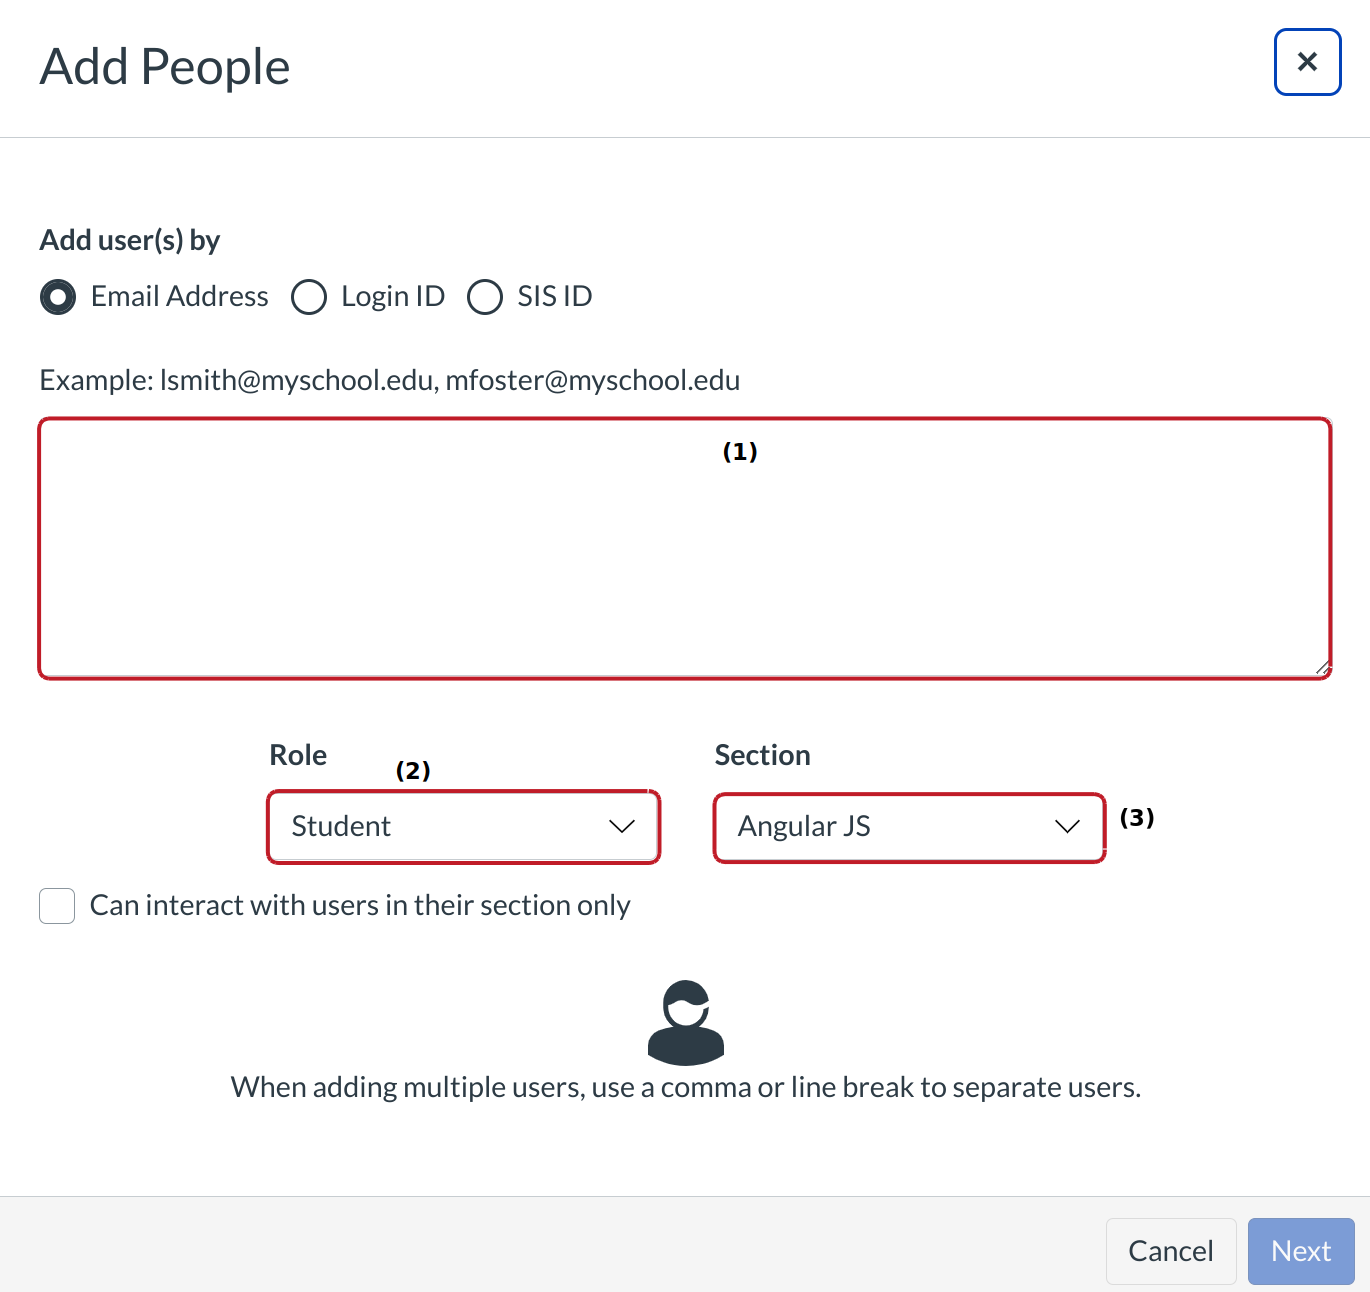
The instructor types or pastes an email address or several email addresses in the type field [1]. Users will be assigned a role in the Role drop-down menu [2] and a course section in the Section drop-down menu [3].
Check People
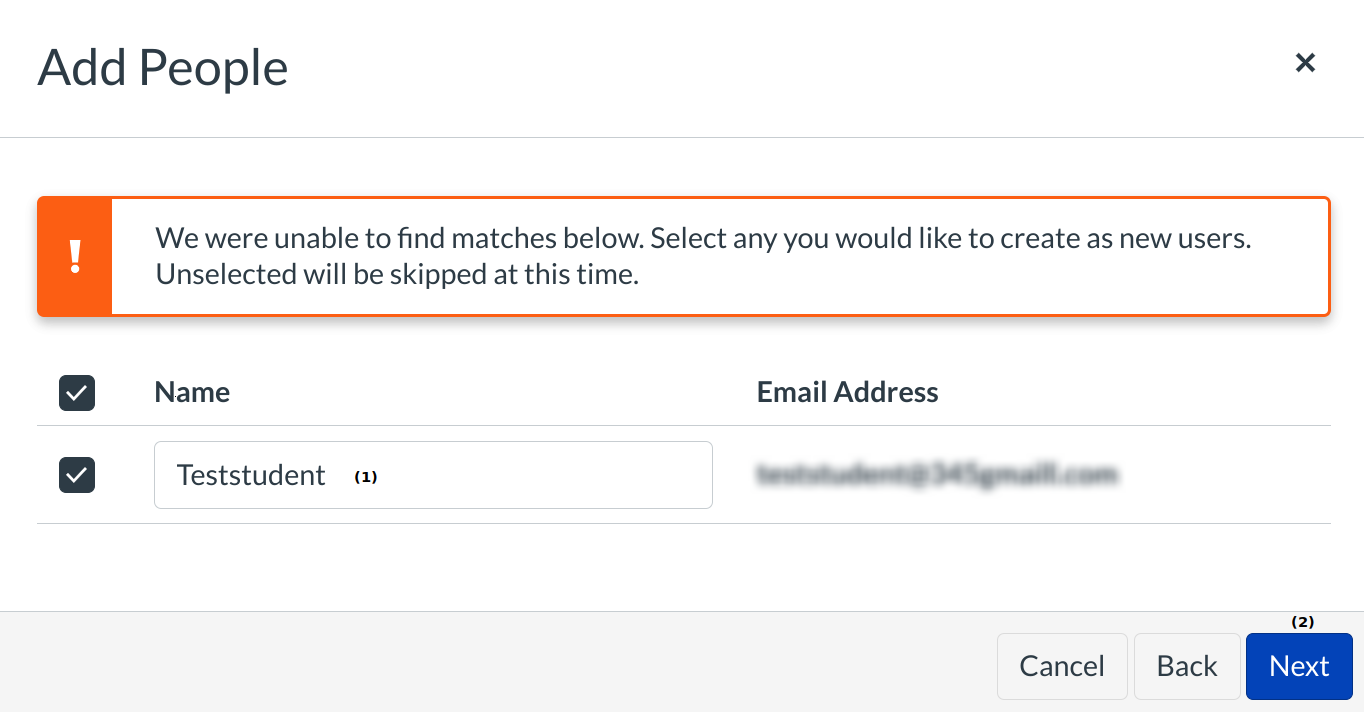
After advancing to the next menu, LMS will verify that the email is a valid email address [1]. Once confirmed, the instructor will add the users to the course roster with the Next button [2].
Note: If the user has previously created a LMS account with the email address being used, the user's name will populate in the name field. Otherwise the name field will remain blank.
Confirm Enrollment
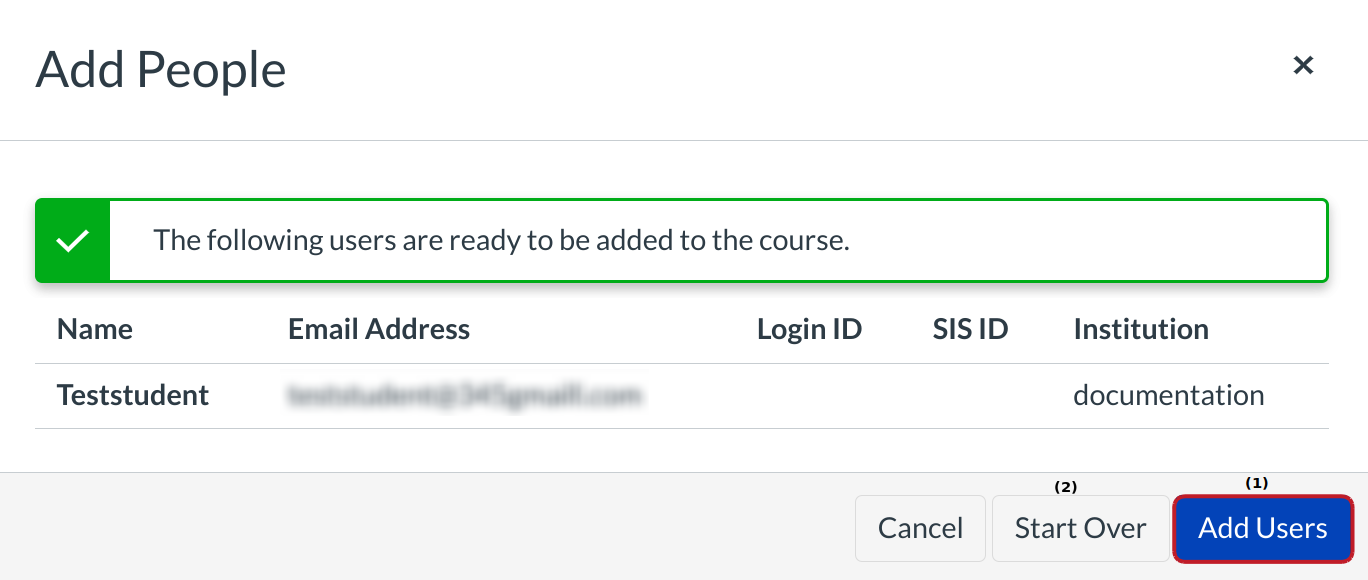
LMS will verify the user's enrollment. To add more users, the instructor will click the Add More Users button. If not, the instructor will click the Done button.
View Pending Enrollment
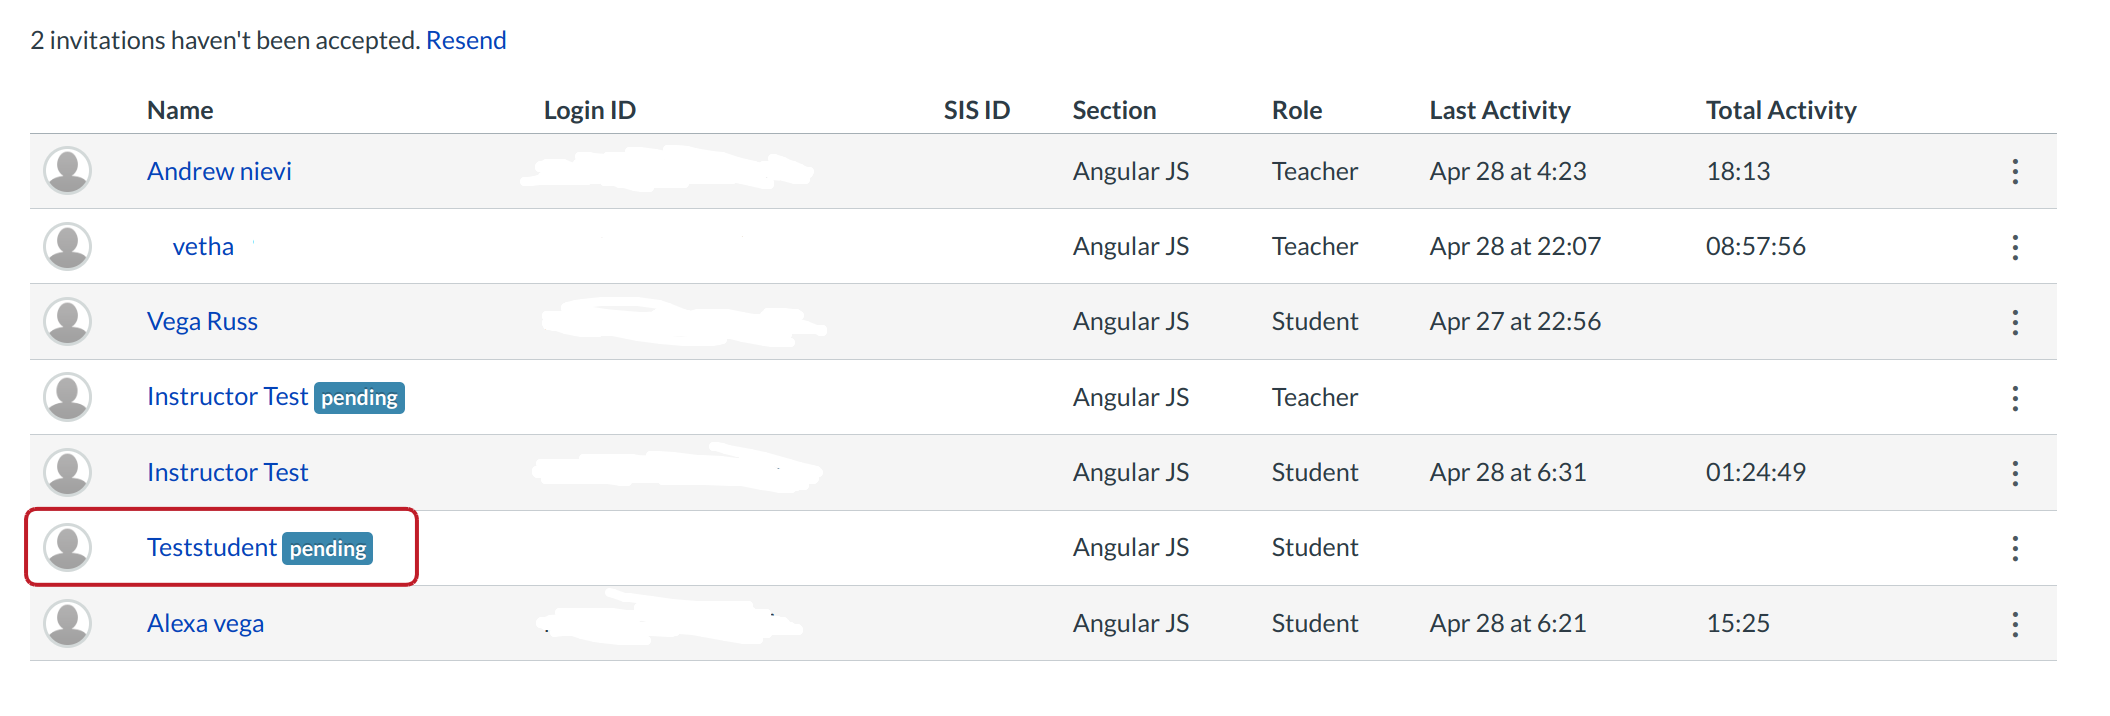
The instructor will see the user's status pending until the user accepts the course invitation.
Student Receives Email Invitation
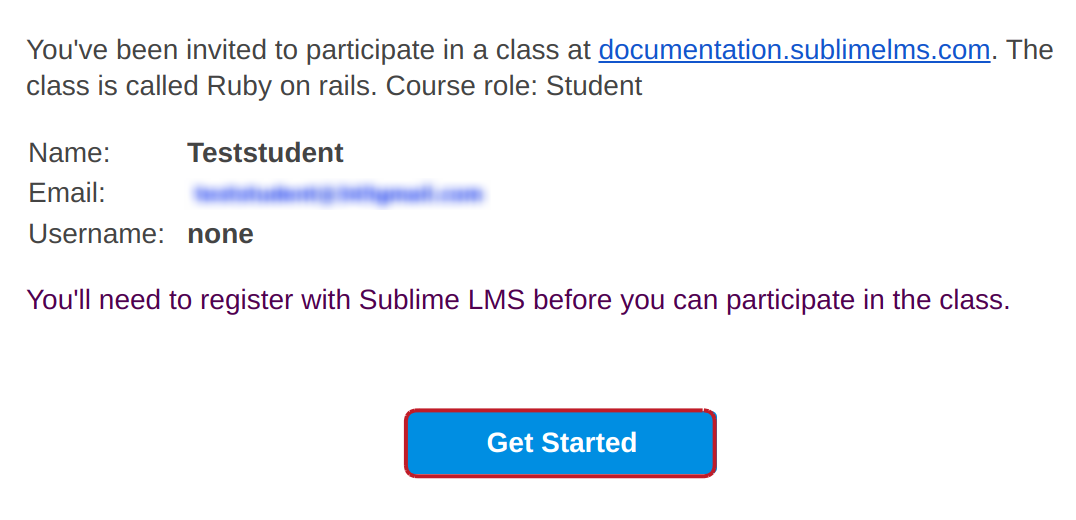
Student will receive an email that contains institution's URL [1] and student's email address to use for login [2]. To accept the course invitation, click the Click here to get started link [3].
Student Accepts Invitation

After Student logged in to LMS, they will see an invitation window reminding them of their course invitation. Click the Accept button.
Note: Student will have to sign in to LMS to accept the course invitation. If they don't have a LMS account you'll be able to create one as part of the course invitation.