What course settings do I have control over?
The Settings navigation link is where you can easily update and see the different users, sections and also modify the navigation of your course.
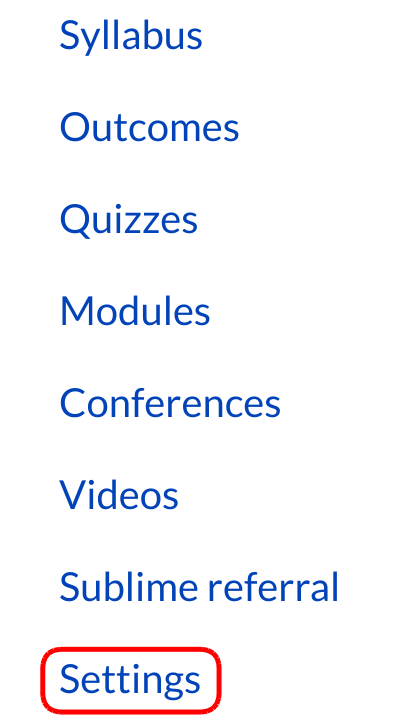
Open Settings
The settings portion of your course is only available to teachers. Students won’t be seeing this link so this is where we put in the different reports just for the teachers themselves.
View Settings
Depending on your permissions, you can edit differing levels of the course settings.
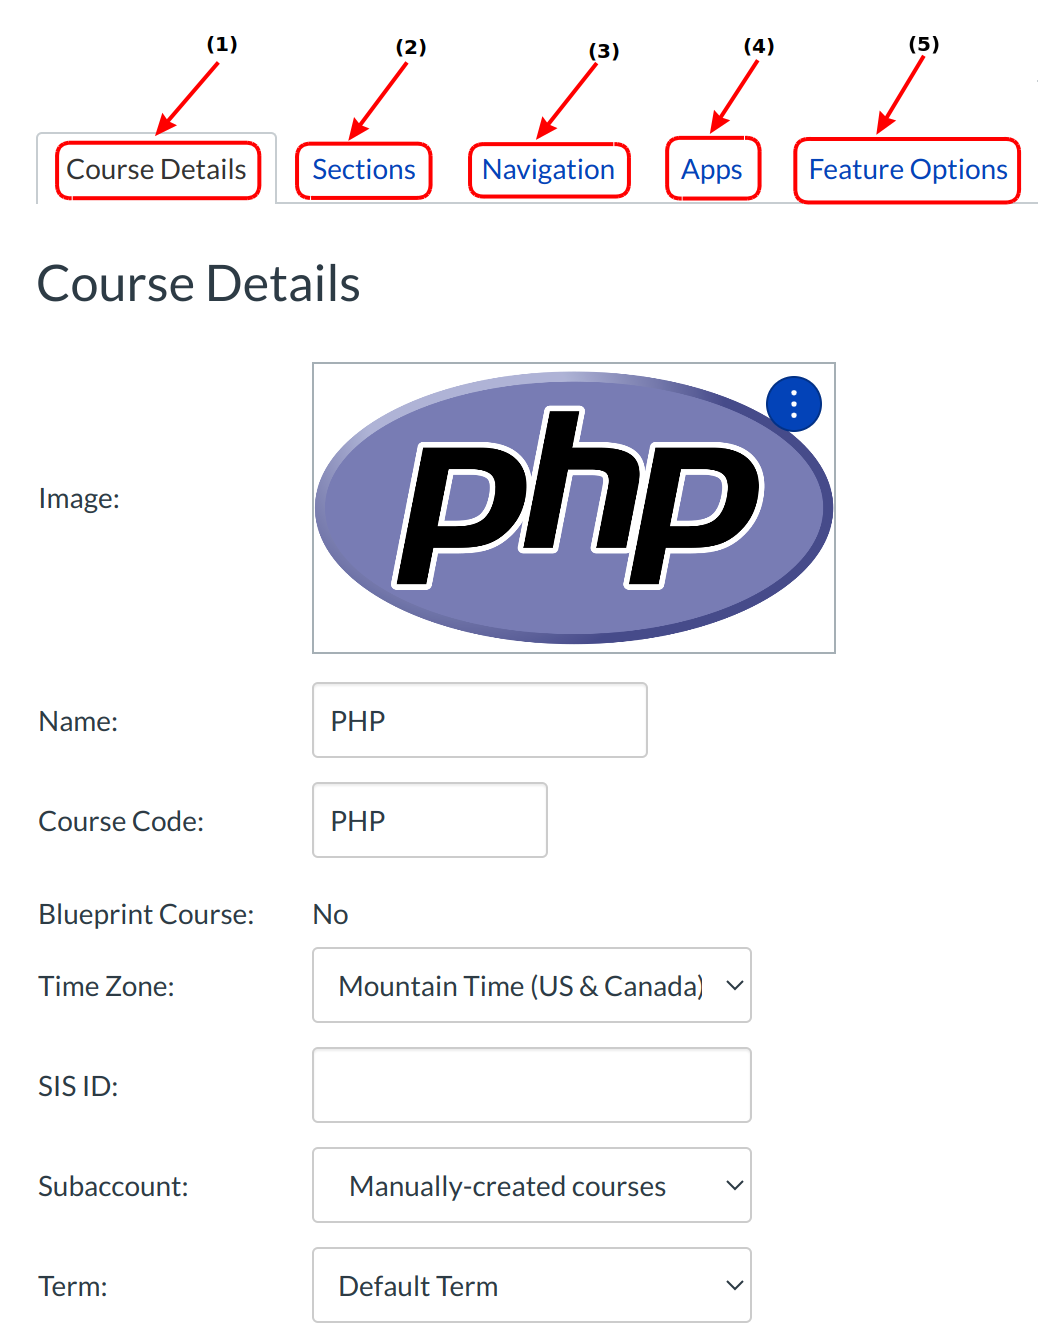
- In the Course Details tab, you can view the details of your course, its name, what your quota is, and what license that you’ve attached to this content inside of your course.
- In the Sections tab, you can manage the different sections of students and see all the people associated with your course according to role.
- In the Navigation tab, you can modify the Content Navigation links listed in your course. You can drag and drop to change the order of of the links. You can also hide specific links from students. Any configured External Application (LTI Tools) that appear in Course Navigation also appear here as well.
- The Apps tab allows you to view installed Applications and link Applications enabled by your institution to your course.
- In the Feature options tab,you can view which of the new options are enabled by the admin for your courses. and you can enable some feature options visible to your course.
Course Details Settings

You can view and edit the course settings by clicking the Course Details button.
Edit Start and End Dates
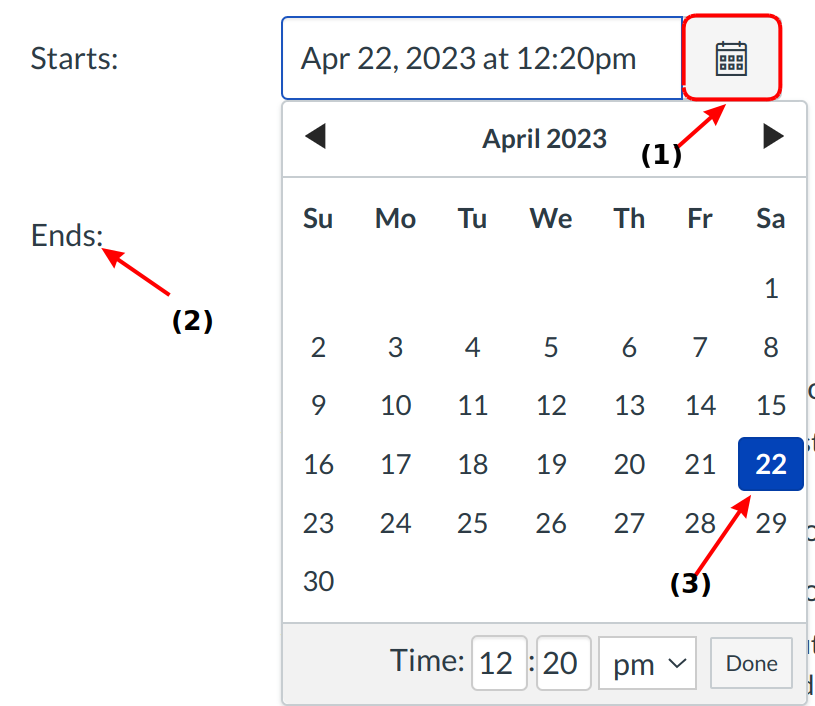
You can edit the start and end dates of the course by selecting the Calendar icon [1] and [2] respectively. Select the date you wish the course to start or end by clicking on the day [3].
Limit Course Availability
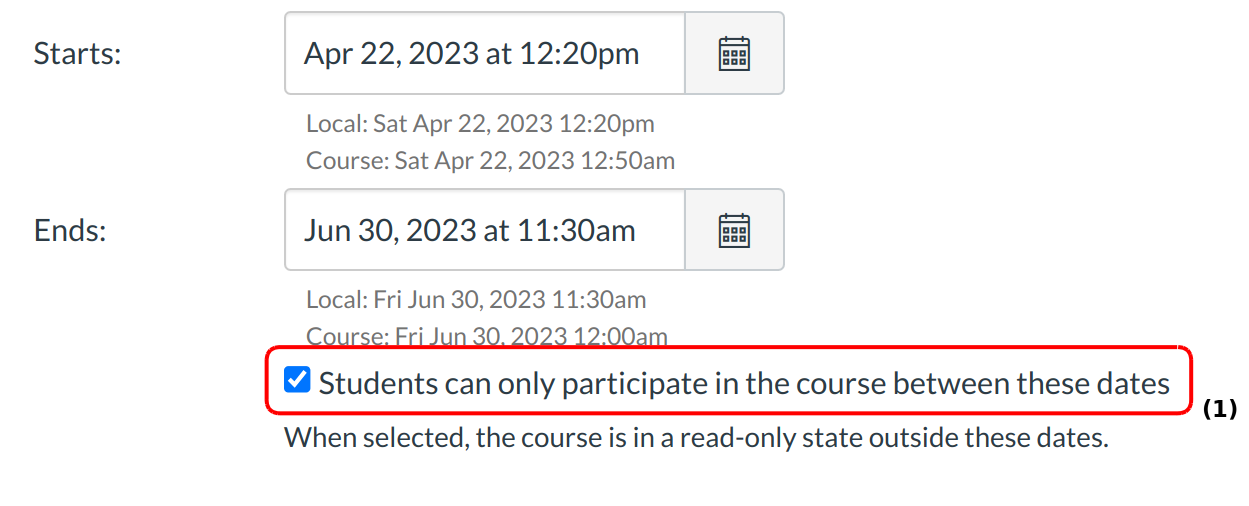
Click the Students can only participate in the course between these dates checkbox [1] to limit course availability. This will override the default institution availability dates.
Language Settings
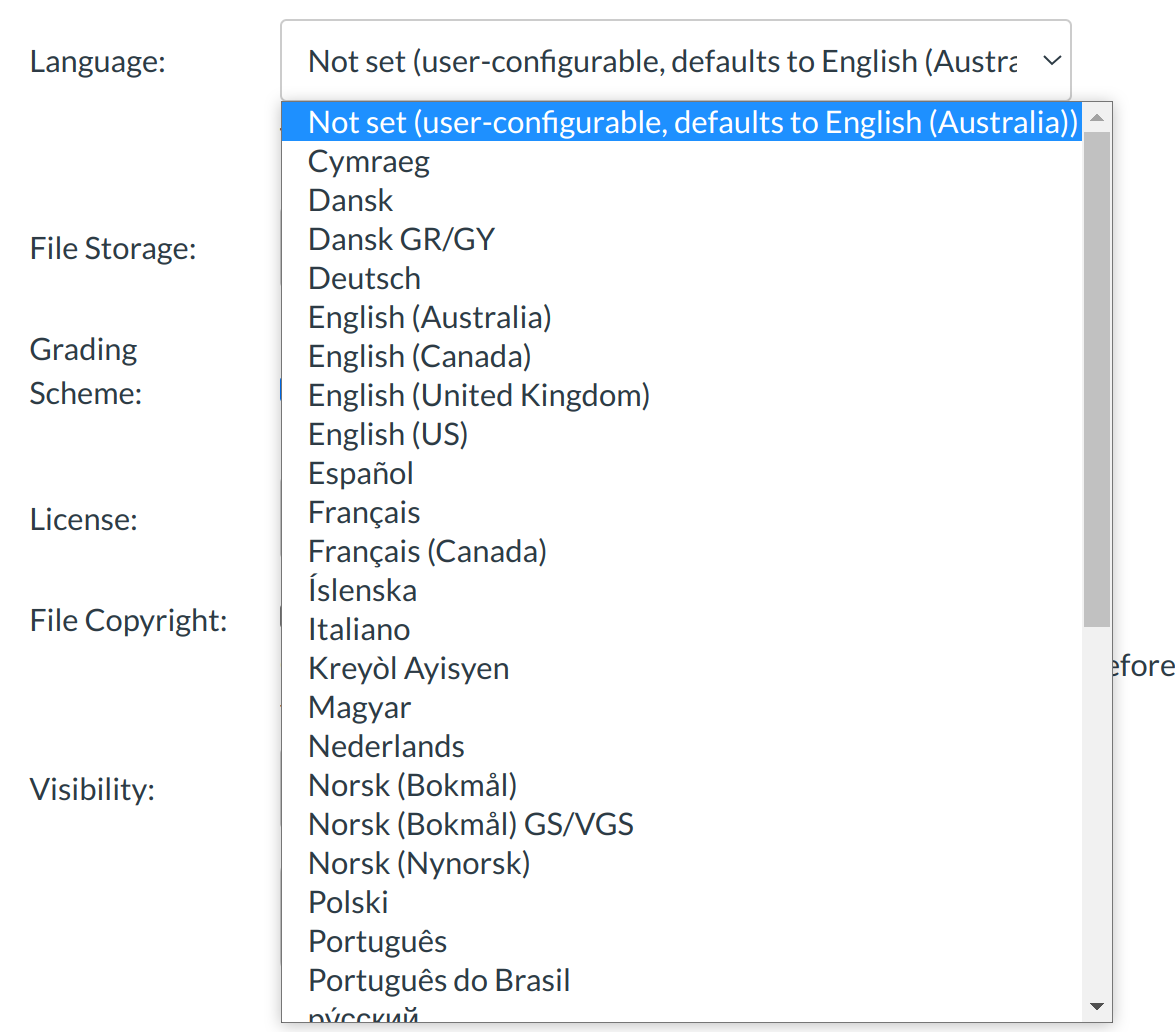
Select which language your course will be displayed in by clicking on the language drop-down menu and clicking on the language you prefer.
Enable Course Grading Scheme

Select the Enable course grading scheme checkbox to enable a course grading scheme.
Set License
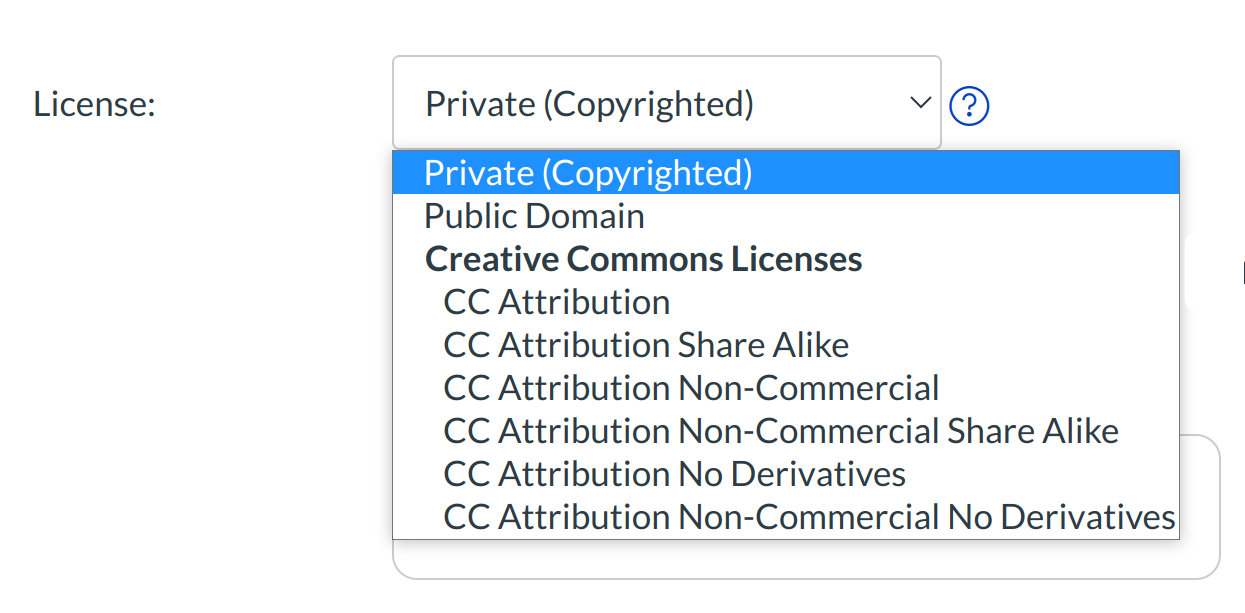
Click the license drop-down menu, and select which license you want to apply to your course by clicking the license title.
Set Visibility
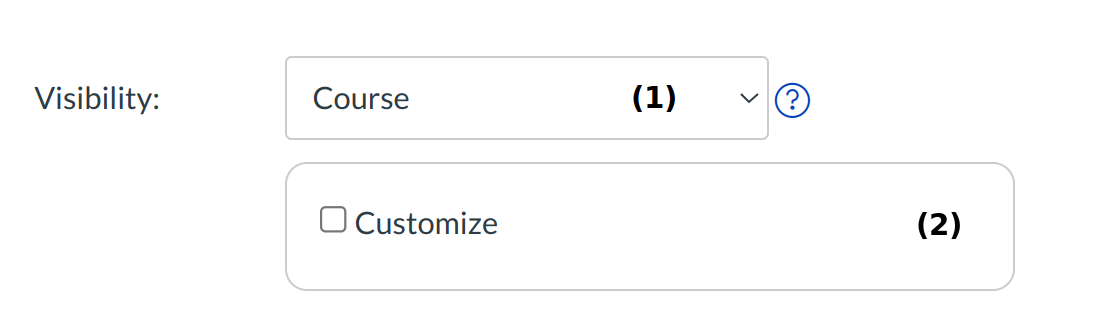
Click the Course drop-down [1] to make the syllabus public. Click the Customize checkbox [2] to create a public course.
Set Student Options

You can change student options by clicking the More Options link and selecting the appropriate checkbox.
Update Course Details
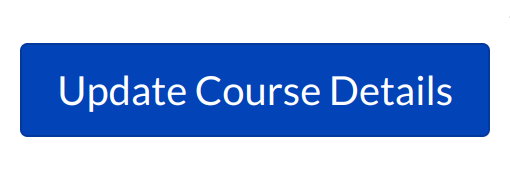
Click the Update Course Details button to update the course settings.