How to record screen with voice using Sharex ?
ShareX is a free and open-source screen recording and screen casting program for Microsoft Windows. It is used to create full screen or partial screen captures.
Note: You can download and install ShareX in your machine using https://getsharex.com/ the link.
Open ShareX

Click the ShareX icon on your Desktop.
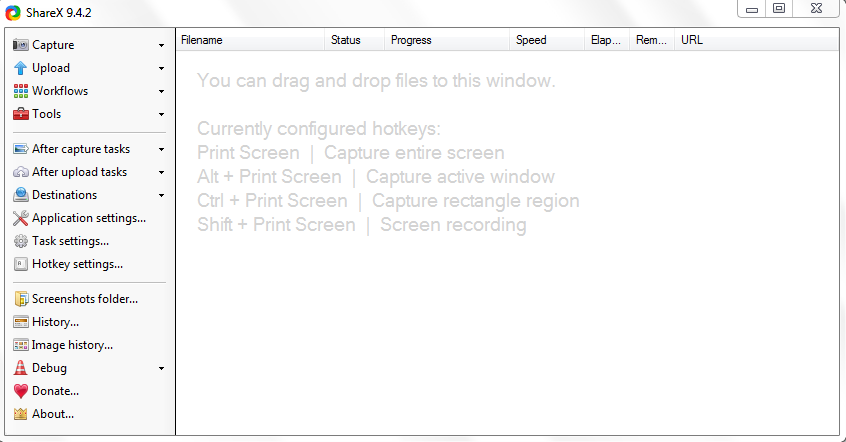
View Capture Options
ShareX incorporates the following methods to allow screen capture:
For Images:
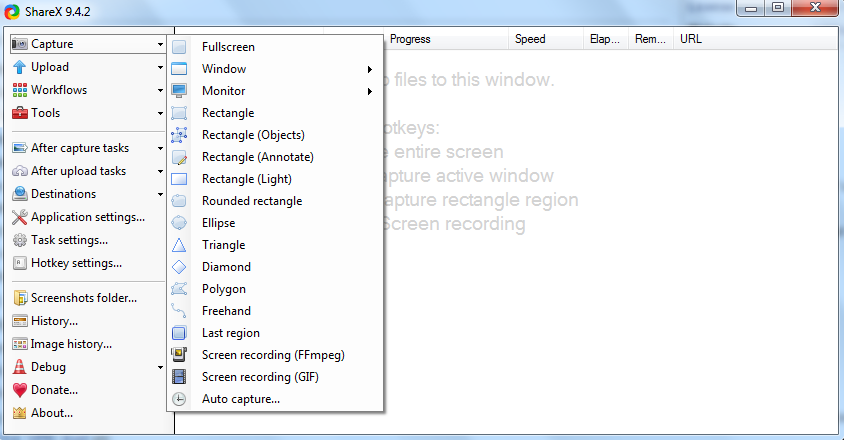
Fullscreen: Creates a screenshot of the entire screen area.
Active window: Captures the currently active window.
Active monitor: Captures the monitor area where the mouse pointer or cursor currently resides.
Window menu: It lists the active windows, so that user can select which window to take screenshot of.
Monitor menu: It lists monitors, so that the user can select which monitor to take screenshot from.
Rectangle: Allows user to take screenshot from a single or multiple rectangular areas drawn with the mouse by dragging it from one corner to the diagonally opposite corner of the rectangle.
Rectangle (Objects): Allows user to take screenshot of a rectangular area. When the user hovers window or an object, it will automatically select rectangular area, so that the user does not need to drag the area using the mouse.
Rectangle (Annotate): This rectangle capture is similar to the Light version mentioned below, but it also allows the user to draw in the capture area.
Rectangle (Light): Basic version of Rectangle capture designed for slow computers.
Rounded Rectangle, Ellipse, Triangle and Diamond: These options work similar to rectangle capture with only difference which is the shape.
Polygon: Allows the user to click points on screen to make polygon shape to capture areas inside it.
Freehand: Allows the user to draw areas just like drawing with pencil and the drawn area will be captured.
Last Region: Will repeat the screen capture which was done most recently.
For Videos:
Screen recording (FFmpeg): Users can record a selected area on their screen or the entire screen. FFmpeg allows user to record screen including sound and compress it in real time using x264, VP8, Xvid etc.
Screen recording (GIF): User can record a selected area on their screen or the entire screen in animated GIF.
Auto capture: Allows the user to automatically capture a screen area with the specific time interval.
In the Screen recorder tab set Output to FFmpeg
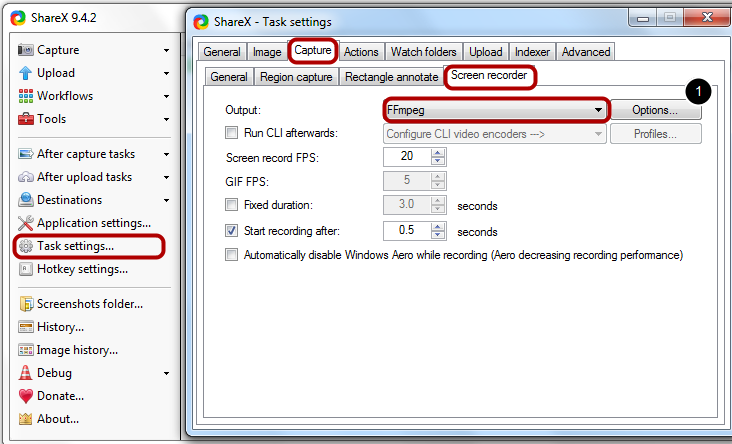
In the Main window -> Choose Task settings -> In the Task Setting Window Choose Capture -> Screen recorder. Choose FFmpeg as the output format from the output drop down menu.
You can change the Following Screen Recording Options:
Screen Recorder FPS means how many frames are being recorded per second. 20 frames are ideal for desktop recording.
Fixed duration will stop recording after that duration. While using a hotkey, duration is not required because you can stop recording any time you want. It is mainly useful for make animated GIF, so , it is suggested to disable it.
Start delay option sets when the recording will start. So, 0.5 seconds will give you enough time to move your cursor to the recording area before the recording starts.
Click the Options button to set the FFmpeg recording options.
FFmpeg options
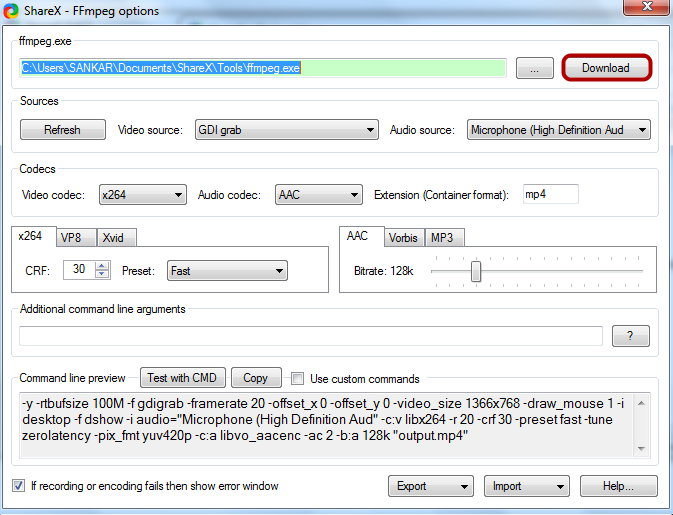
When you press the Download button, the latest version of FFmpeg will automatically download and extract itself to Tools folder.
You don’t need to manually download the FFmpeg from web site.
Video sources
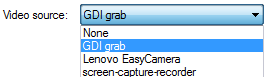
The sources section only loads if the FFmpeg file exists.
None - Does not record audio.
GDI grab - Records the screen with built-in FFmpeg methods.
Camera - If you have a camera, it will show up in the video sources list. This allows you to record from it.
screen-capture-recorder - Records the screen using the open source DirectShow filter. It will be installed as part of ShareX. If you are planning to record audio with the Virtual Audio Capturer, then use this instead of GDI grab.
Audio sources
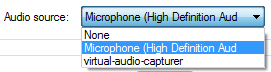
None - Does not record audio.
Microphone - If you have a microphone, it will show up in audio sources, and it will allow you to record from it.
virtual-audio-capturer - Records what you hear using the open source DirectShow filter. It will be installed as a part of ShareX.
Video codecs
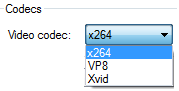
x264 - Uses libx264. x264 is a H.264/MPEG-4 AVC encoder. This is our recommended video codec to use.
Note: Having good quality/compression can cause frame drops while recording, because compression happens in real time, and it uses the CPU heavily. Therefore we suggest the Fast preset. If the frames still drop a lot, try increasing the preset to Very fast (or higher) until you get better results. Increasing CRF helps with performance too, at the cost of video quality.
VP8 - Uses libvpx. VP8 video encoder for WebM, an open, royalty-free media file format.
Note: WebM doesn’t support the AAC and MP3 audio codecs. Use the Vorbis audio codec.
Xvid - Uses libxvid. Xvid (formerly "XviD") is a video codec library following the MPEG-4 standard, specifically MPEG-4 Part 2 Advanced Simple Profile (ASP).
Note: Video doesn’t work with MP4. Use the AVI or MKV containers.
Audio codecs
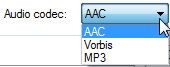
AAC - Uses libvo_aacenc. Advanced Audio Coding (AAC) is the successor format to MP3, and is defined in MPEG-4 part 3 (ISO/IEC 14496-3). It is often used within an MP4 container format; for music the .m4a extension is customarily used.
Vorbis - Uses libvorbis. The Theora video format, Vorbis audio format, and Ogg container format were developed by Xiph.org as free and open-source media formats.
Note: Use this audio codec with VP8 (WebM).
MP3 - Uses libmp3lame. MPEG-1 or MPEG-2 Audio Layer III, more commonly referred to as MP3, is an encoding format for digital audio which uses a form of lossy data compression.
Container format
Type the Extension format in the Container Format textbox.
MP4 - Suggested for x264. MPEG-4 Part 14 or MP4 is a digital multimedia format most commonly used to store video and audio. This can also be used to store other data such as subtitles and still images.
WebM - Suggested for VP8. WebM is an audio-video container format designed to provide royalty-free, open video compression for use with HTML5 video.
MKV - The Matroska Multimedia Container is an open standard free container format. It is a file format that can hold unlimited number of video, audio, picture, or subtitle tracks.
AVI - Suggested for Xvid. Audio Video Interleaved (also Audio Video Interleave), known by its initials AVI, is a multimedia container format introduced by Microsoft in November 1992 as part of its Video for Windows technology.
Screen Recording
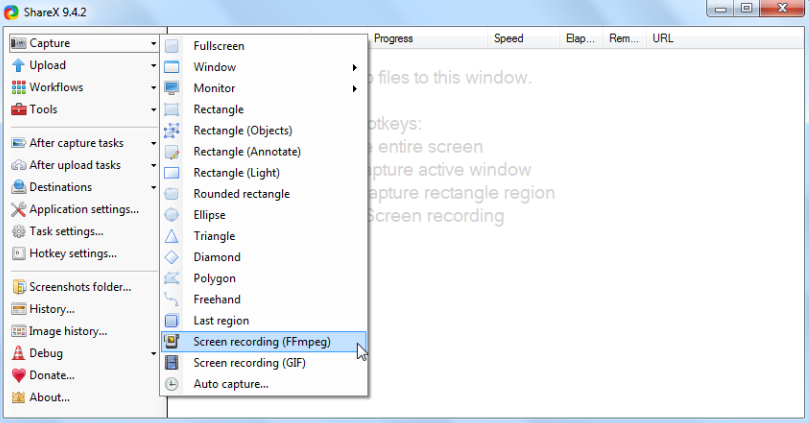
Choose Screen recording (FFmpeg) option to record screen including sound.
Plug in the Microphone in to your machine to Record .
Choose Region
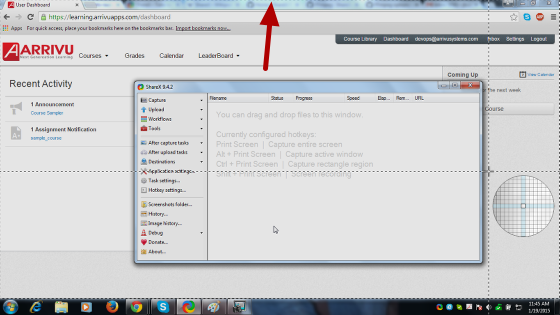
Choose the Recording region for Screen Recording.
Screen Recording
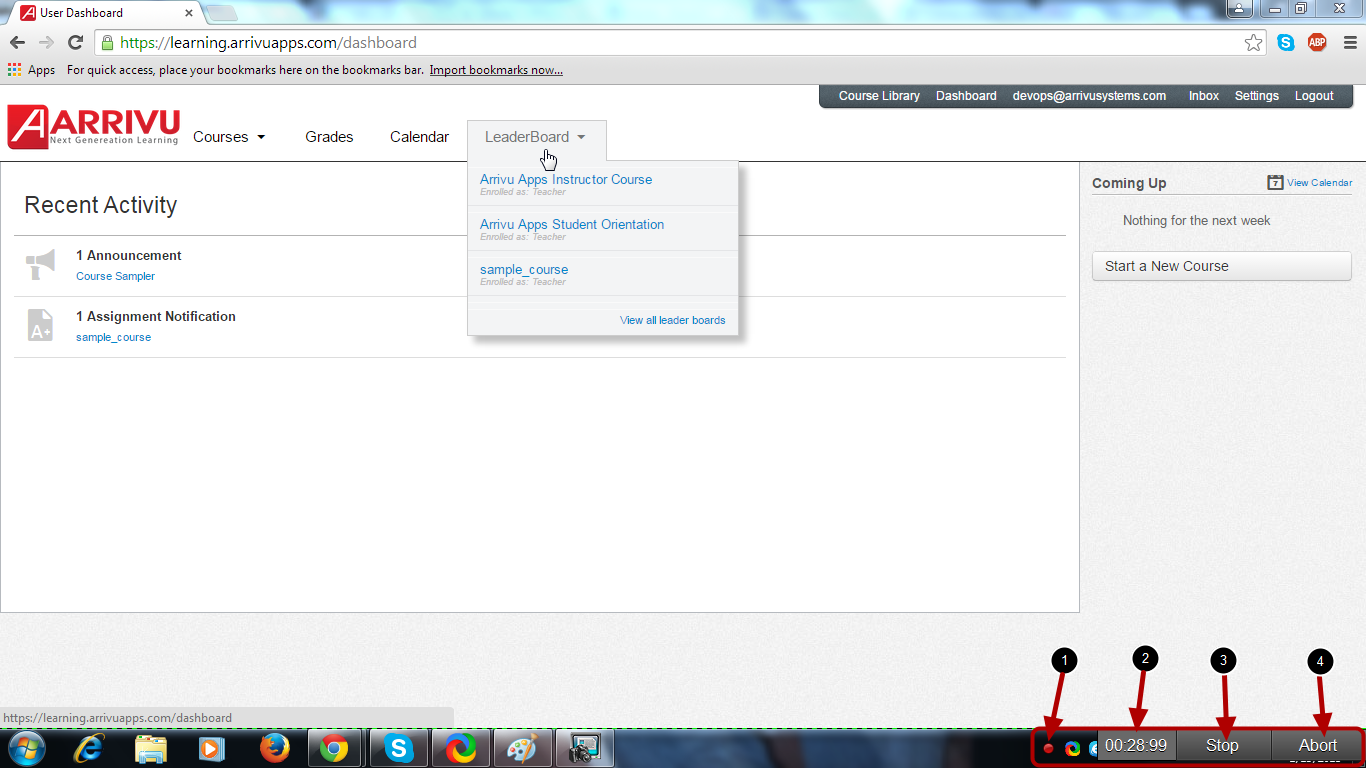
Once you choose the recording region, the screen will start recording automatically.
You can view the recording time in the bottom right corner of the screen.
Red color Dotted Circle [1] indicates the screen recording, You can view the screen recording time [2] , once you have finished your recording click the Stop [3] button to stop recording.
Click Abort [4] button while you recording the screen to abort the recording process.
View Recorded file
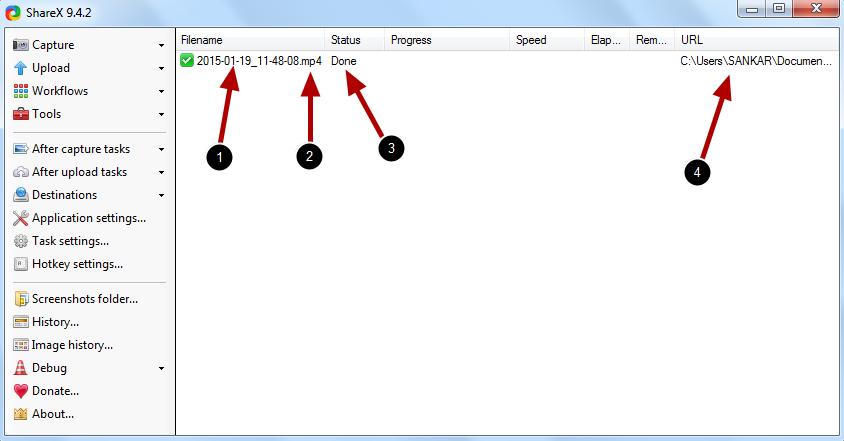
View the Recorded file’s name [1], file format [2], status [3] of the file and the location [4] where the recorded file was saved in your machine.
Add Recorded File to Sublime LMS ™ Course
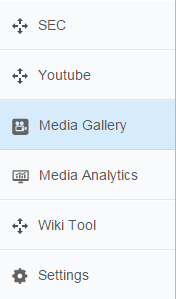
Choose Media Gallery link in the course Navigation.

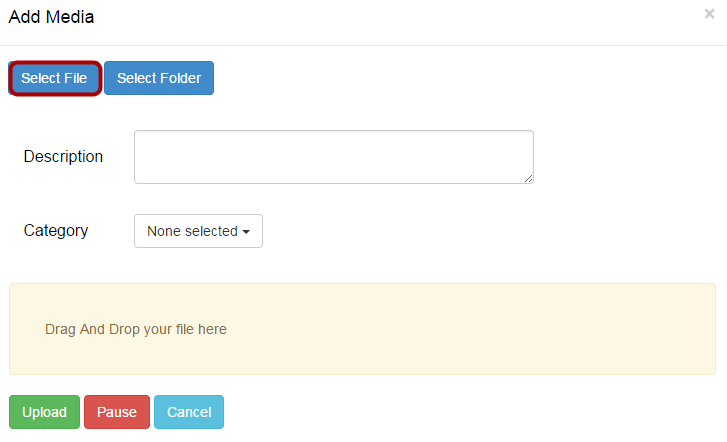
Select the Recorded file from ShareX.
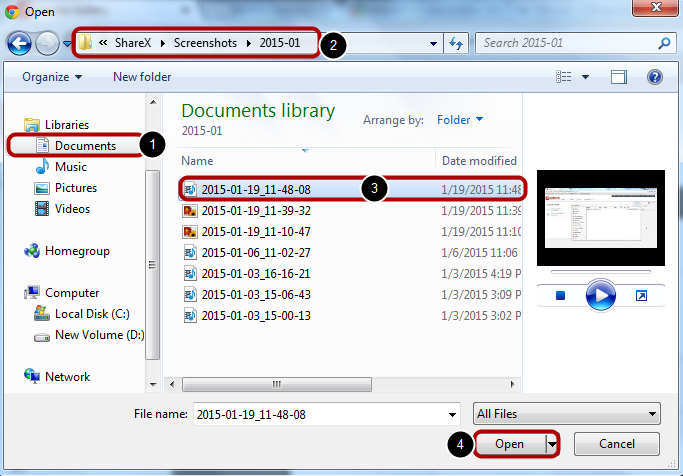
Choose Documents [1], Open the folders ShareX -> Screenshots -> the Current Year and month folder name [2], choose the file [3] and click Open [4] button.
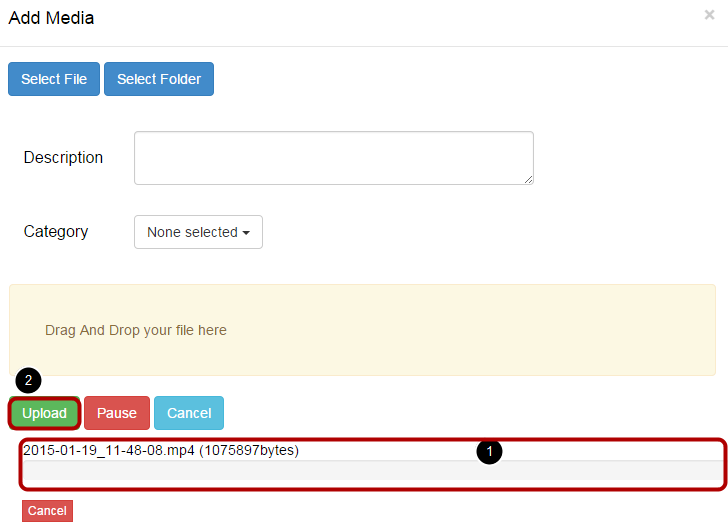
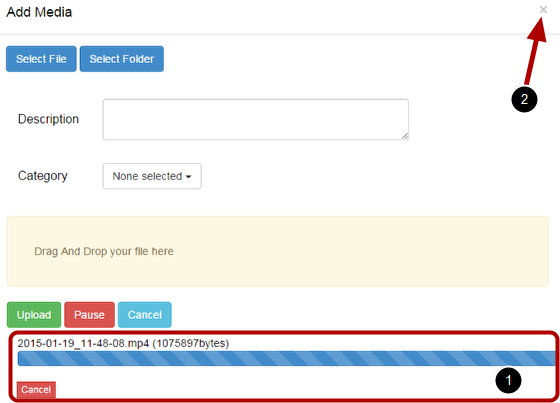
Once the file has been uploaded [1], click the X [2] icon to close the Add Media window. Refresh the screen to view the uploaded file.
View File
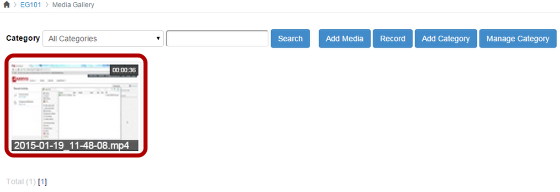
View the uploaded file in your course Media Gallery.
Add Media in Rich Content Editor
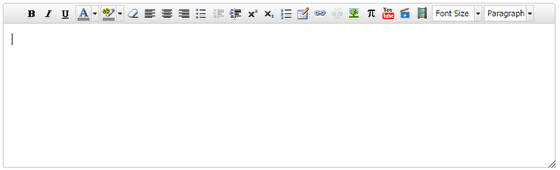
Using Rich content editor, you can add media to Pages, Videos, Announcement, Discussion, Syllabus and Quiz Descriptions.
Open Pages
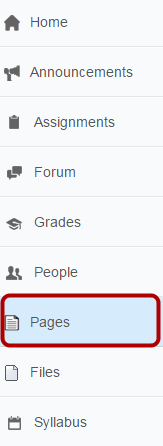
Click Pages Link in course navigation.
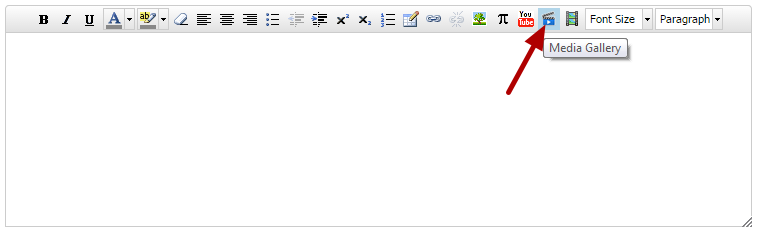
Embed Media
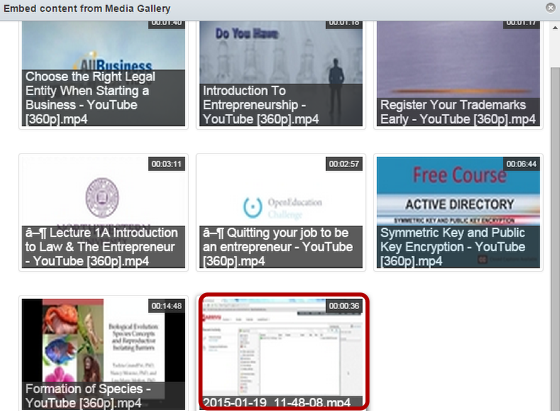
Choose the Media file from the Media Gallery.
Save Changes
Click Save Changes Button.
View Page
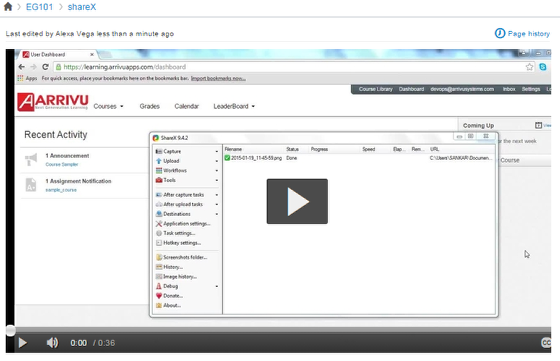
View the page.